How to Appliqué Wool: Our Quick Guide to Success
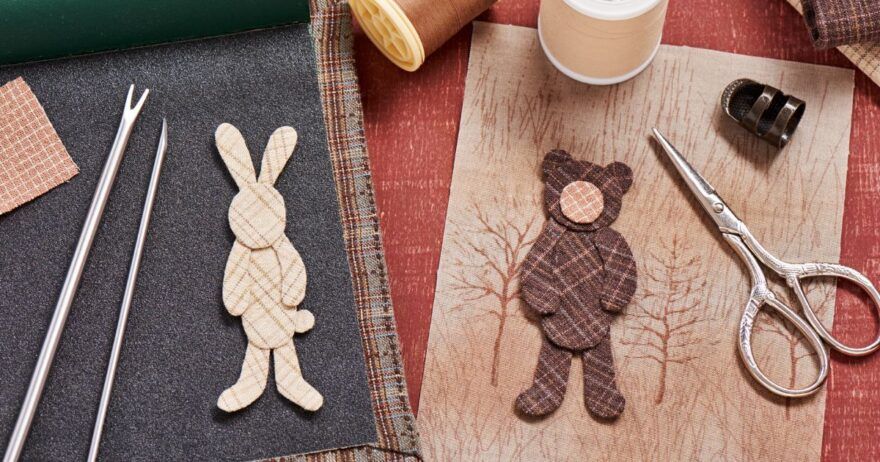
Learning how to appliqué wool is such a fun (and important) lesson. Whether you’re a seasoned crafter or a newcomer to the world of textiles, you’ll love the freedom that comes with this technique. There are lots of ways to appliqué wool, but this method is our personal favorite. We hope you’ll give it a shot (and love it as much as we do)!
Step-by-Step Instructions on How to Appliqué Wool
1
First, you gather together everything you need. Your wool needs to be felted. To felt your wool, soak it in a sink of really hot water or run it thru a cycle of hot water in your washing machine, then rinse in cold water. Dry it in your dryer till it’s good and dry. (Wash or soak like colors together so they don’t bleed.) Felting makes your wool all soft and yummy and keeps it from fraying as you work with it. (If you don’t know if your wool is felted, you can always felt it again to be sure. It won’t hurt it to felt it again.)
2
Then you need your paper backed fusible web. I’ve used heat n bond, wonder under, steam a seam, and soft fuse. They all work fine, but soft fuse is my most favorite. It’s lite, adheres really well, and I like it the best. But they all work fine.

3
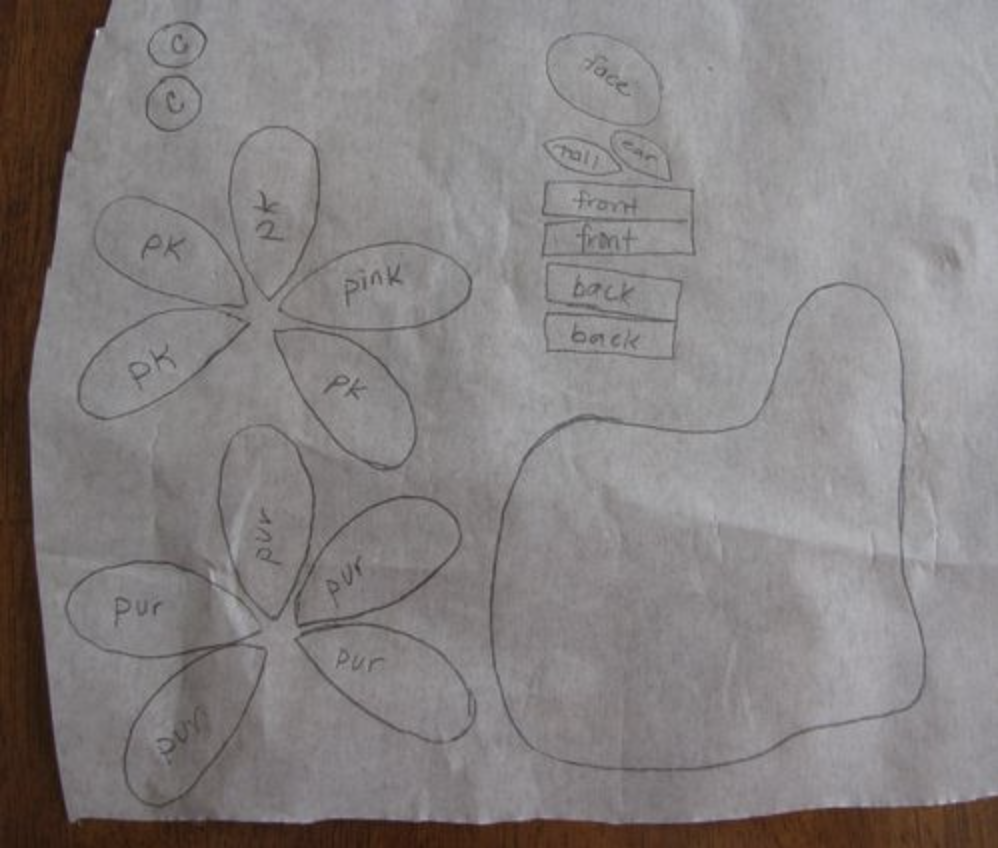
When you are ready to trace your pattern, make sure that the image has been reversed first. If it’s been reversed already, the pattern usually says so. If it hasn’t been reversed, then you need to use a window or a light box and trace from the back of the pattern.
4
Place your fusible web, paper side up, over your pattern, and trace your pattern pieces. Leave 1/8″ to 1/4″ space between each traced shape. If any shapes on your pattern overlap, you need to trace them seperately – don’t overlap your tracing! Label all your shapes. If you have pieces that are small and should all be one color of wool (like the sheep feet, ear, face, and tail), trace them close together.
5
After you are done tracing, cut out each shape JUST OUTSIDE the drawn line. See how there is a little space around each shape? Do that. Since the little black sheep pieces are very small, I just cut them out all together in one big chunk.

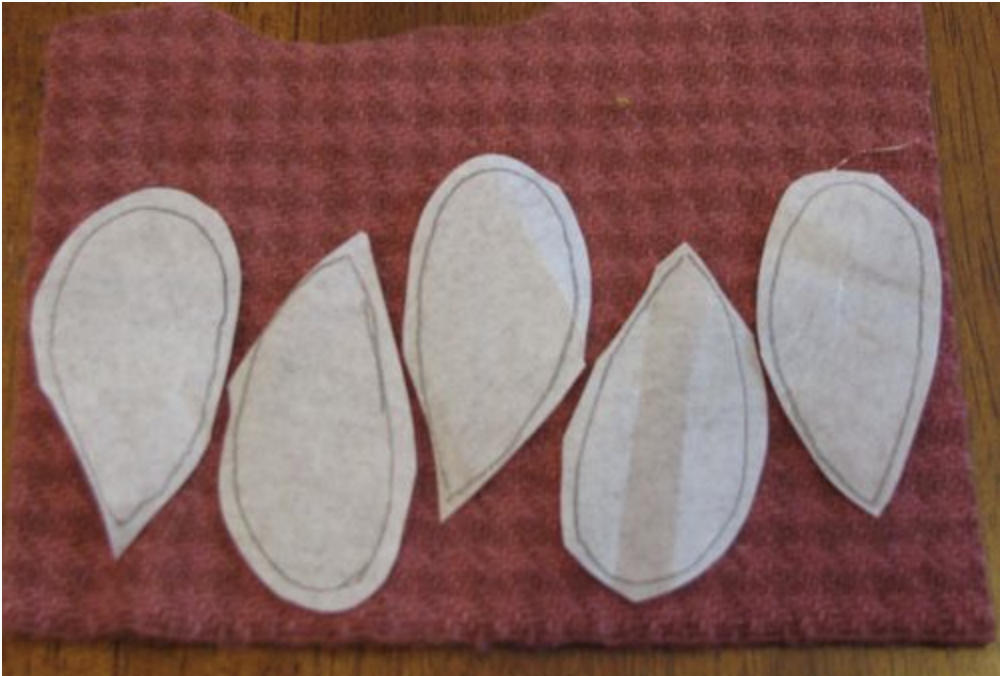
6
Lay your traced shapes, paper side up, on the correct color of wool. Be frugal with your spacing. If you have many traced pieces on one color of wool (such as flower petals), place them close together.
7
Press with your iron for 5 or so seconds. After it’s cooled a bit, check the edges and press for another couple of seconds if you need to.

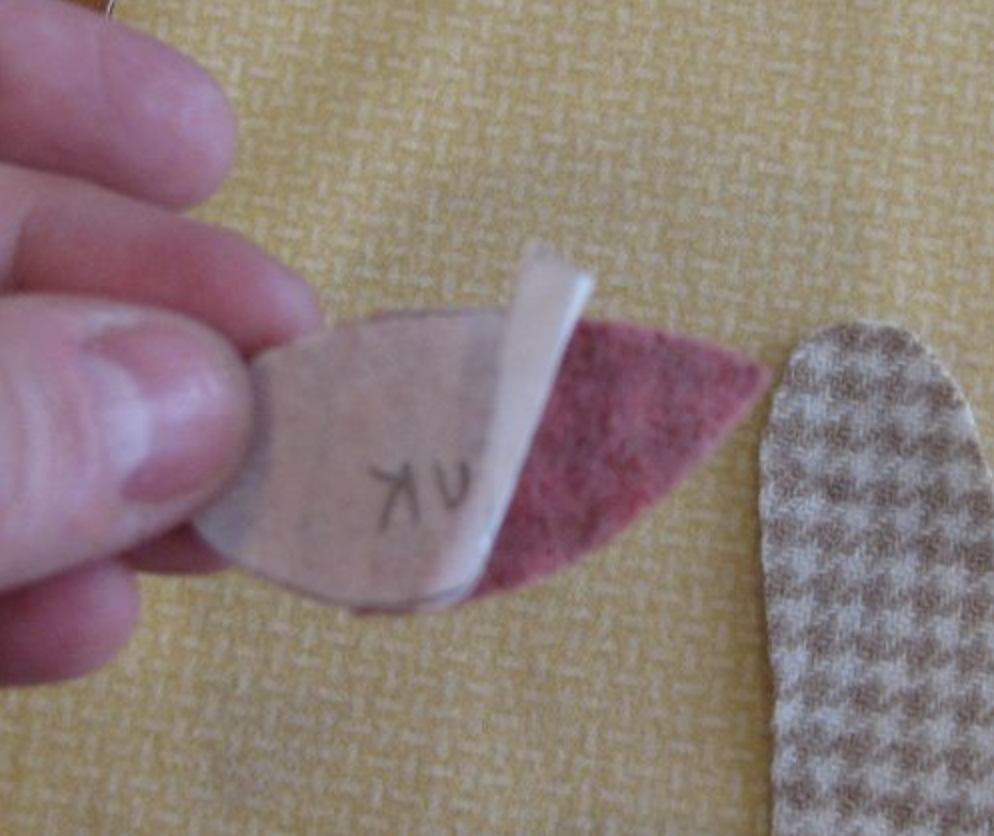
8
After you have fused all of your paper shapes onto the wool, cut out the shapes DIRECTLY ON the line.

9
Cut out all of your wool shapes. (This is a good time to sit in front of a movie.)

10
When you’re done cutting out your wool pieces you’ll have little scraps like these. Unless they are incredibly teeny tiny, I save them. Wool is not cheap, and you’d be surprised what you can do with little scraps.

11
After your wool has cooled, peel off the paper backing. I throw those away. (I’m frugal, not crazy.)
12
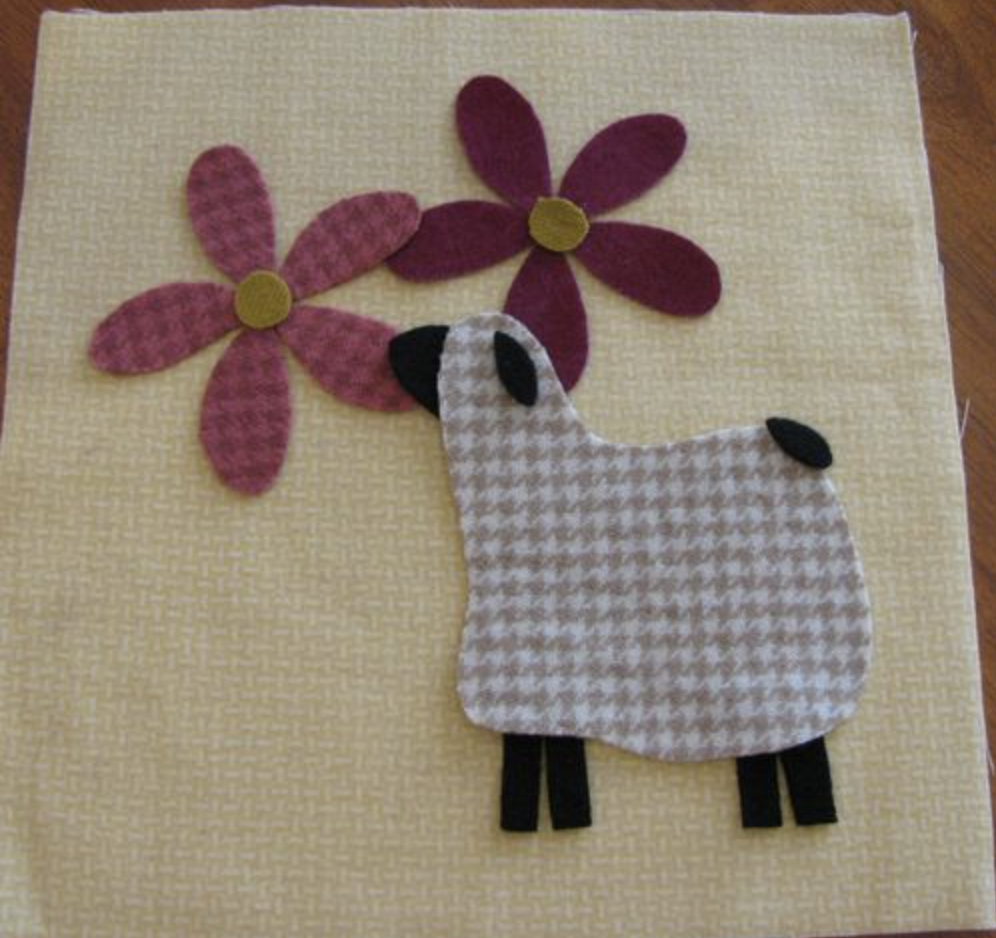
Following your pattern, diagram, or picture, lay out your pieces. I like to lay out everything all at once, even if there are layers. Some people like to press layer by layer, but I don’t. There is nothing worse than pressing some pieces down, then realizing that something should have been placed under something else. (Believe me.) But, if you like to layer, you go right ahead. Whatever makes you happy.
13
Be sure to leave enough room around the outside of your block to allow for your 1/4″ seam allowance.
14
After you have placed all your pieces and you are happy with how they look, you can press them down. Very carefully, so as not to move anything, lay your iron down on the pieces and hold it there for 8-10 seconds. Gently move your iron around to fuse all the pieces.

15
Use lots of steam, baby, lots of steam. Just steam the heck out of it. Don’t hold your iron down in one place for too long though, because it is possible to burn your wool! Better to do lots of little pressing motions than one big long burning pressing motion. See my steam?

16
When everything is fused, turn your block over and steam it from the back. (I just realized you can sort of see my reflection in the iron. Good thing I got out of my jammies.)

17
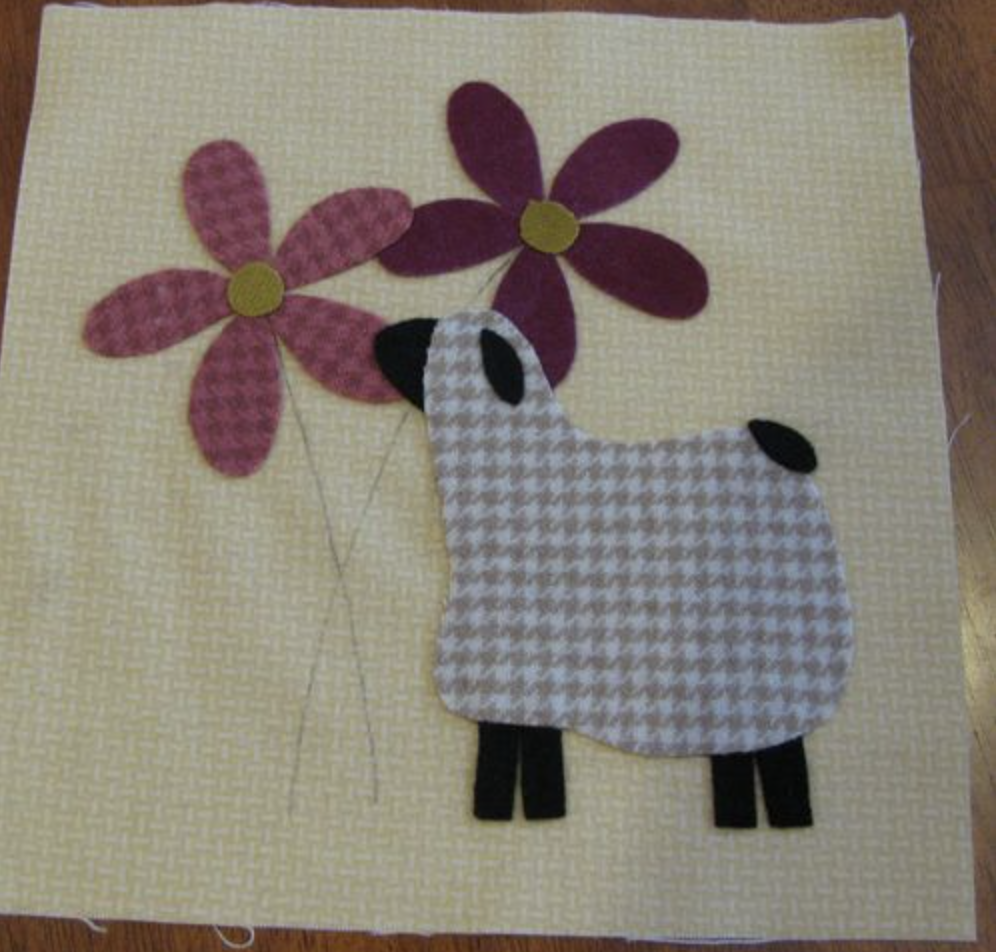
After your block has cooled, you can use your favorite marking tool to draw the flower stems.
And look at that! You have yourself a block! To finish your block, blanket stitch with matching thread around each applique shape. I use black thread around the sheep. Stem stitch or back stitch the flower stems. I hope this tutorial has been helpful, and that you’ll give it a try!
Now You Can Ace Wool Appliqué
Did you know that you can do appliqué this way with regular cotton fabric too? And you can machine or hand blanket stitch around the shapes! Now that you know how to appliqué wool, will you be trying it out yourself? Be sure to share your creations with us on Instagram, Facebook, or the comments below. Happy stitching!
Enjoying this article? Sign up for our newsletter!


Thanks for the tutorial! Can you post a completed picture after the appliqué? I’d love to see how you stitched around all of the shapes!
I have never done Wool Applique… what thread do you use? I have seen all different types of threads used.
Thanks, Kimberly