The Artful Touch: Machine Embroidery and Paint
Enhance your work with machine embroidery and paint with the help of Linda Kemshall. Pulled from the pages of Quilting Arts Summer 2022.
As a painter who also loves textiles, it was only a matter of time before I started painting fabrics to make quilts. My first painted quilt was made way back in the early ’90s. Those earliest pieces were painted and then quilted but later, my work exploited the texture of the quilted surface and color was applied only after the quilting was complete.
Much as I favor the ‘hand of the maker’ being the dominant force in a quilt, I also love to work with new technology. I enjoy creating original designs and printing them digitally on a wide-format printer. Recently, I began using an embroidery machine to layer stitched designs onto the prints in combination with the free-motion quilting I always favor. Today’s embroidery machines include built-in designs and that’s an advantage—these motifs and patterns are professionally digitized and will stitch out perfectly.
Design sources
I challenge myself to make the most of the designs that come with the machine (or those that can be purchased online) but I aim to be creative in how I use them. This involves more than simply ignoring the suggested thread colors and choosing my own color palette—although, of course, I do that! I also develop or extend the designs with paint.

At its simplest, this approach works best when working with an existing design that has a clear outline and empty spaces where paint can be applied and used to my advantage. I look for designs that do not involve lots of close stitching. I also consider the size of the motif—I don’t choose tiny shapes that will be too difficult to paint.
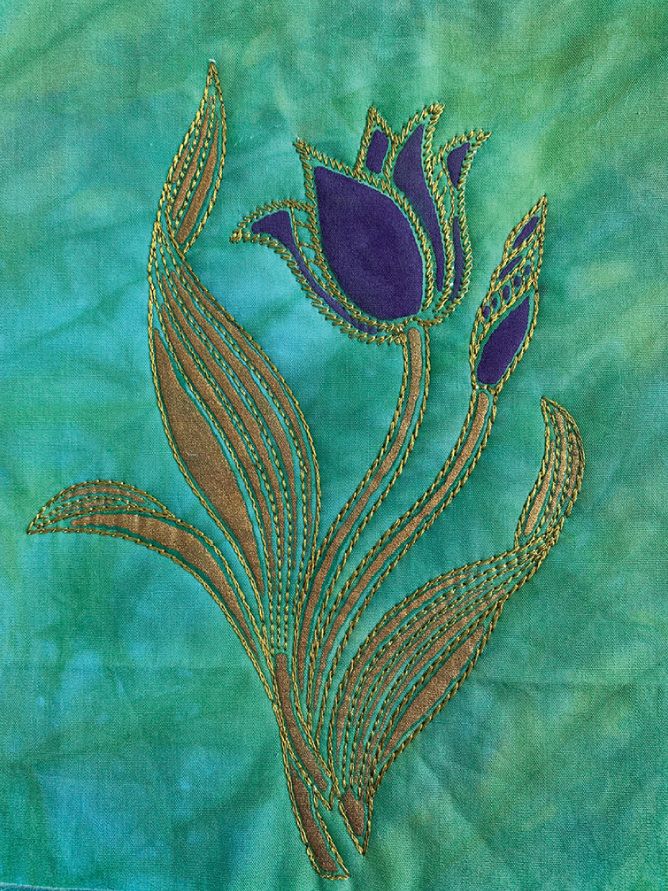
For example, consider the stitched floral design featuring a tulip and leaves. (figure 1) The motif is large enough to enhance and yet also recognizable. I used the simple embroidered outline as a guide for applying metallic fabric paints. The paint was applied up to—but not over—the stitches. I don’t want to obscure the color of the stitches or risk paint bleeding through the holes in the fabric created by the needle.
Extending digital designs
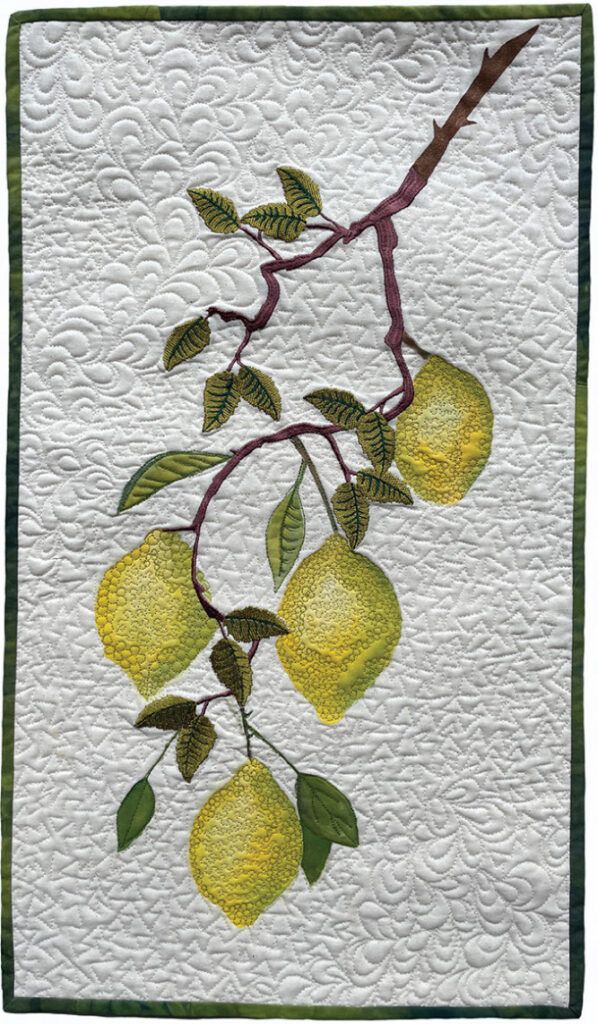
This technique is not limited exclusively to small and open designs. At other times I look for designs that may have more filled areas of embroidery. With these I can extend the design by adding painted elements that mimic the stitched shapes. I’ve found that leaf designs are perfect for this. The quilt titled “Lemon Tree” includes a digitally embroidered branch with leaves. (figure 2) Here I’ve chosen to extend the design with extra painted leaves and some lemons. It’s fun to work from my imagination but I’ve used lemons a lot in previous work so I’m very familiar with their shape and form making them an easy subject to paint.
This embroidery was worked onto a single layer of cream fabric hooped up over a sheet of tear-away stabilizer. Once the embroidery was complete, I painted the fruit and foliage, added batting and backing, and free-motion quilted the background. The fruits were next in line for some stitch—for these I quilted tiny meanders and circles to suggest the dimpled skin. I also varied the tones of thread with darker yellow-green to the outer edges where the fruits are in shadow and pale lemon yellow for the centers to suggest the rounded form of the fruit.
Repurposed and recycled substrates
I sometimes work with a single layer of fabric plus a layer of stabilizer—as in “Lemon Tree”—but I prefer to embroider designs onto an already printed, pieced, and quilted sandwich. Old quilts that have had their day are often recycled for this purpose.
“Lily Pads with Fern” is one such example where a sinuous embroidered fern curves across a digitally printed quilt. The fabric was printed from a drawing of waterlilies I made using soft pastels on pastel paper and was free-motion quilted. I hooped the quilt and didn’t need to add a layer of stabilizer as the quilt sandwich was already stable. I chose a turquoise rayon thread for the embroidery and when it was complete, I painted into the empty shapes of the fern with metallic fabric paint in a gorgeous olive green-gold color that catches the light beautifully. This technique just takes a steady hand and a tiny brush.
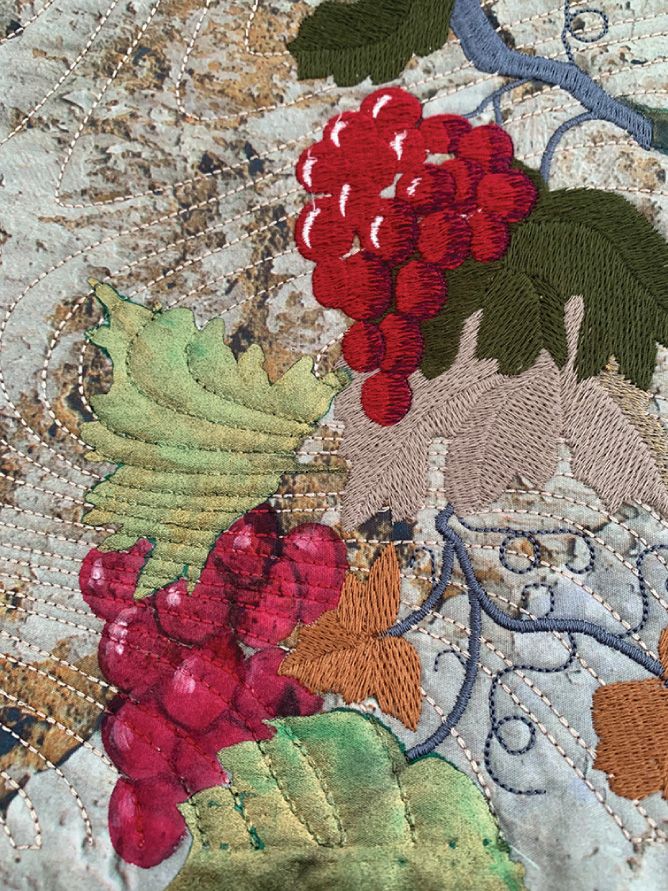
“Grapevine” is another of my embroidered, recycled quilts. (figure 3) For this quilt I chose a digital design from an online digital design library (see Resources on page 54). I think working an embroidery design onto an existing quilt adds layers of complexity and visual interest to the finished piece. I varied my thread types and colors because, often in nature, leaves aren’t a single color—I included lots of different threads to help represent this. Some of my threads are matte and others lustrous; I mix and match to achieve variety. In this quilt, you can see one of the embroidered bunches of grapes and a second grape cluster created with paint. As a final touch, I added hand embroidered French knots in unquilted spaces for added visual texture and interest.

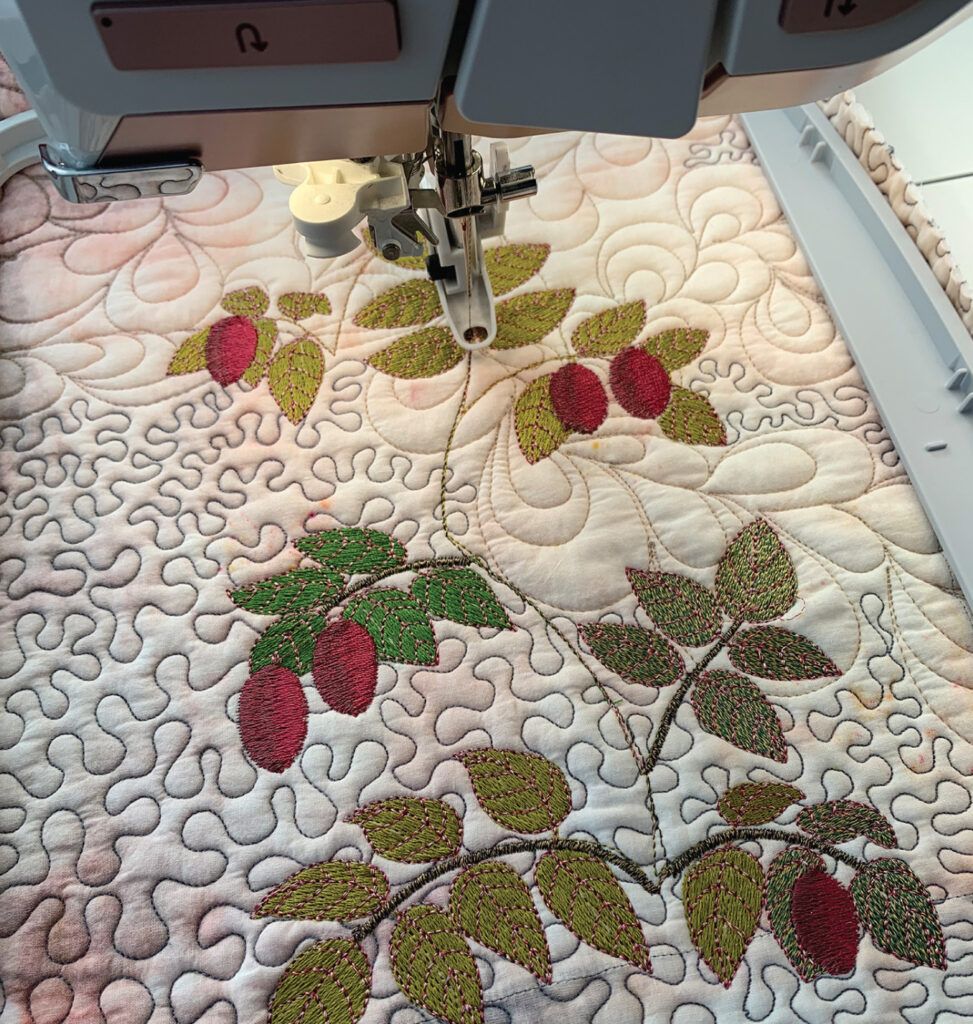
When working on a ‘hooped’ repurposed quilt, there are a lot of design possibilities. I took a photo of the quilt titled “Rosehips” while in progress to illustrate how the commercial design can be worked onto an old quilt over the top of its original free-motion quilting. (figure 5). The final quilt was further enhanced by painting, more quilting, and hand embroidery.
Want to give this technique a try? Pull out your sewing machine, embroidery unit, a repurposed quilt or fabric, and lots of thread and create an experiment. The possibilities for using commercially available embroidery designs are as endless as your imagination!
MATERIALS
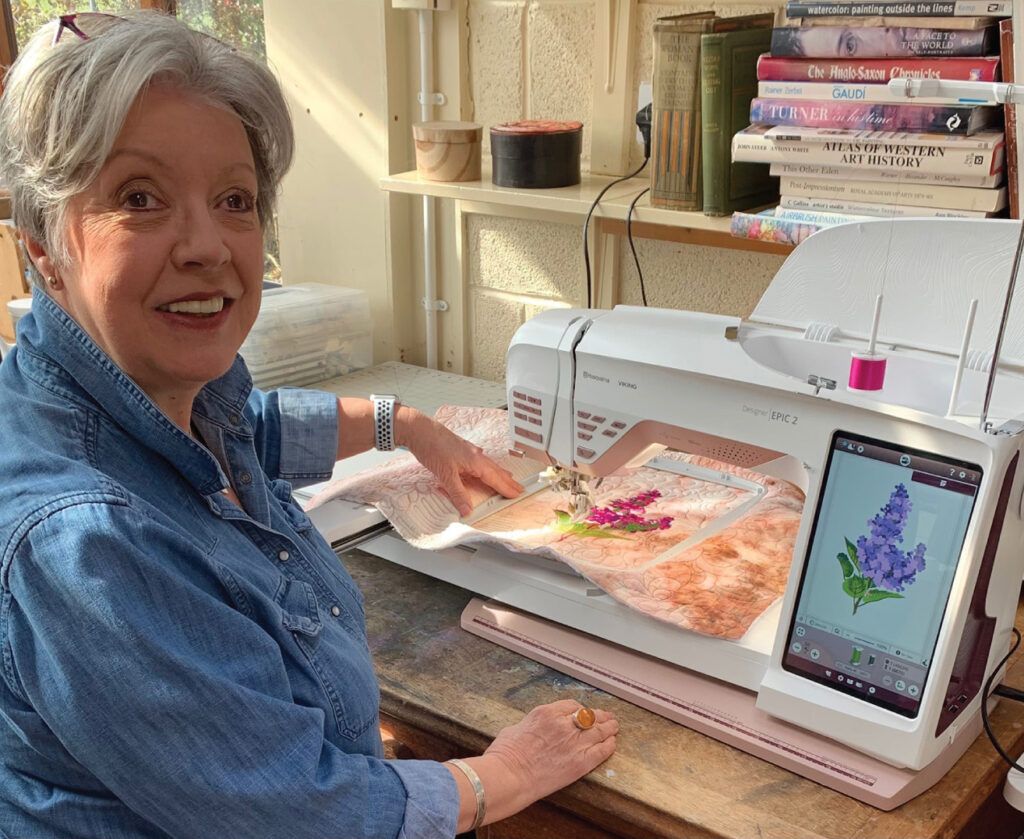
• Sewing machine with digital embroidery capabilities and appropriate hoop (I use the Husqvarna Viking® Designer Epic™ 2)
• Base fabric or an old quilt you wish to repurpose
• Rayon and cotton threads plus a bobbin-weight thread (I use Madeira threads.)
• Fabric paints (I use Jacquard® Lumiere®.)
• Paintbrushes (I recommend synthetic round brushes when using acrylic paints.)
Optional
• Tear-away stabilizer if working with a single layer of base fabric
• Hand embroidery threads
DIRECTIONS
1. Select an embroidery design that will suit the size and proportion of the fabric or quilt you plan to work with.
2. Put the quilt in the appropriate size hoop. (figure 4) As an alternative, if using a single layer of base fabric, layer it with tear-away stabilizer and hoop these together. Stitch the chosen embroidery pattern, changing thread colors as required.
3. Once the embroidery is complete, remove the textile from the hoop and paint on additional elements such as leaves and fruits or flowers. Allow the paint to dry.
4. Heat set the design, following the manufacturer’s directions.
5. Add hand-embroidered embellishment and additional free-motion quilting as desired.

Resources
Digitized embroidery designs: mysewnet.com


Join the Conversation!