Technique Tuesday: Quilt Binding—Entirely by Machine!

Many quilters tell me they love the last step of the quilt-making process—stitching the fold of the binding to the back of the quilt by hand—as a calm, meditative activity after which they’ll have a finished quilt, ready to use. That sounds great; I enjoy finishing a quilt, too! But I prefer to finish it super quick—by machine—and be done much sooner than if I did the final step by hand.
I’ll go through my entire machine quilt binding process, which I’ve developed over many projects; it’s definitely not the only way to bind a quilt but I like it and it works very well for me. Some things I do the same way as pretty much everyone else, some things I do in my own way. Read on if you want to know more!
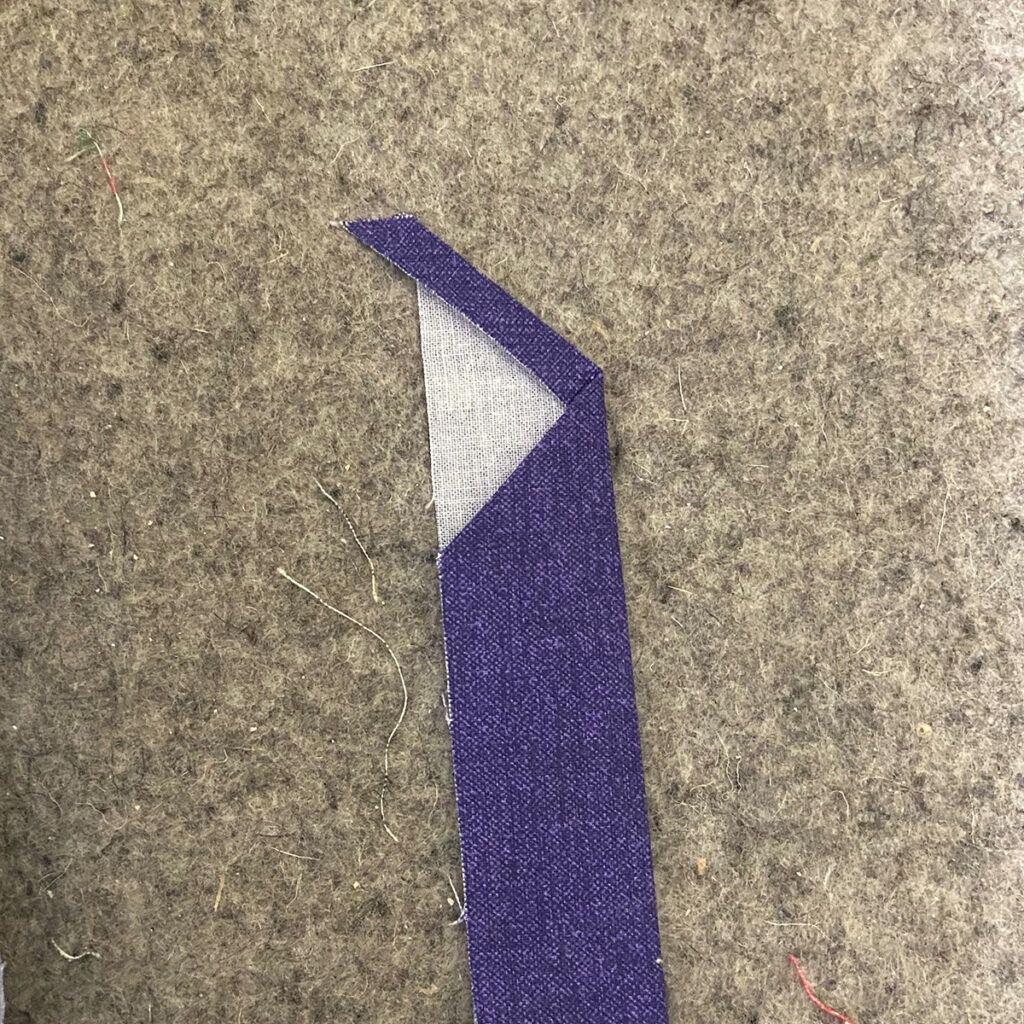
The first thing I do after I’ve joined all my binding strips (at a bias angle, of course) and pressed it in half is trim one of the ends at a 45-degree angle and press in a ¼” seam allowance. This step helps me when it’s time to join the ends of the binding together; more on that later.

Then I place the prepared end on one side of the front of the quilt, anywhere in the middle with raw edges aligned, and start sewing the binding to the quilt with a ¼” seam allowance, starting about 4”-6” away from the folded, pressed end of the binding. As most people do. I use a walking foot, which conveniently has a ¼” mark on it, to keep all the layers moving under the presser foot at the same rate.

When I get to the first corner, it’s time to prepare the miter! My walking foot has a little mark ¼” in front of the needle, so I use that to know where to stop stitching. But I don’t stop, I just pivot and stitch diagonally to the corner.

This is all pretty standard—then I fold the binding up, creating a 45-degree angle with the fold.

Then, fold it down, aligning the raw edges of the binding with the quilt edge again. This will make a nicely mitered corner later. Stitch from the edge all the way to the next corner and repeat the process for all corners.

When the binding is back on the same side as it started, I stop stitching about 4”-6” from the prepared folded edge of the binding, which you can see from the little dog ear in the photo.

I take the quilt off the machine and lay everything totally flat, then layer the binding strips so I can mark where the folded end meets the free end of the binding strip. A little mark at the top is fine, then I can use my ruler to mark a true bias line. It’s the exact right place to join the binding ends—not too tight and not too loose.

Align the fold with the marked line and pin. Sew on the marked line to join the ends of the binding strip.

See how nice and flat it is! My edges aren’t exactly lined up, but no one is going to see that when it’s folded over and stitched again. I finish the stitching the binding to the quilt front.

Time to fold the binding to the back and stitch it down—BY MACHINE!!! I start at one corner and finger press the binding away from the quilt. I put a pin right at the corner, a safety pin along the last side I will sew (a clip might fall off while I’m moving the quilt around), and a couple of Clover Wonder Clips along the side I’m about to sew.
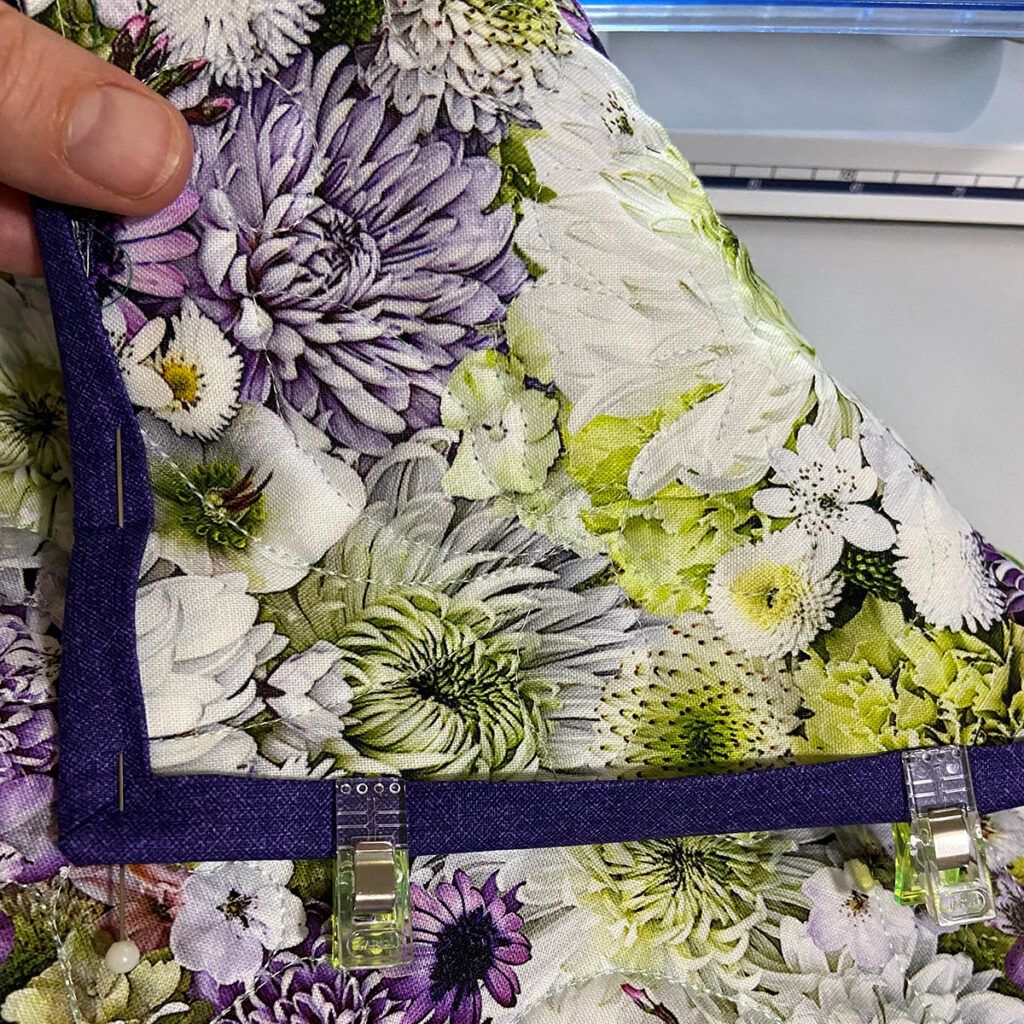
As long as the bottom of the Wonder Clip is aligned with the fold of the binding on the back, I can be sure that my stitches from the front will catch the binding on the back.

Then I sew a few stitches in place in the corner to make sure it’s not going anywhere, and just stitch in the ditch, finger pressing and moving the Wonder Clips as I go.

I can feel the fold of the binding with my fingertips from the front to ensure it’s where it needs to be.

Then I periodically check the back to make sure I caught the fold in the stitching.
The main thing to focus on in this stage is to not stitch over onto the binding itself since that is pretty noticeable. You can go farther away from the binding than you think, and the stitches still won’t show much.

In the photo above is one place where I thought, “Oh no! I really sewed too far from the binding, should I pick it out and do it over?” But I sewed a little farther, looked at it, and realized no one would see it unless I pointed it out. As long as the fold of the binding is stitched down in back, no worries!

When I approach a corner, I finger press the binding away all around the corner, miter the corner, then just clip it in place. The clip holds the miter nicely until I stitch it all down.

Always fold the back corner in the opposite direction of the front corner to reduce bulk. I usually add a few back-and-forth stitches at each corner to secure them well.

Do this all the way around the quilt! At the end, I tie off the loose threads and bury them in the binding, and VOILA! A completed, nice-looking binding in an hour or two (depending on the size of your quilt).
If you’d like to see the entirety of the bound quilt, check out the Nov/Dec 2022 issue of McCall’s Quilting (available digitally on Quilting Daily on September 6)!
As I mentioned at the beginning, this is just one way to bind a quilt and just because I like it best doesn’t mean everyone will. But it is a faster finish than hand-stitching! Favorite methods are subjective, but speed and efficiency are objective; if you’re short on time you may want to give it a shot.

There are also other methods for stitching binding by machine, one especially nice one is the faux-piped binding look. We’ve got a nice tutorial for that you might like to take a look at.

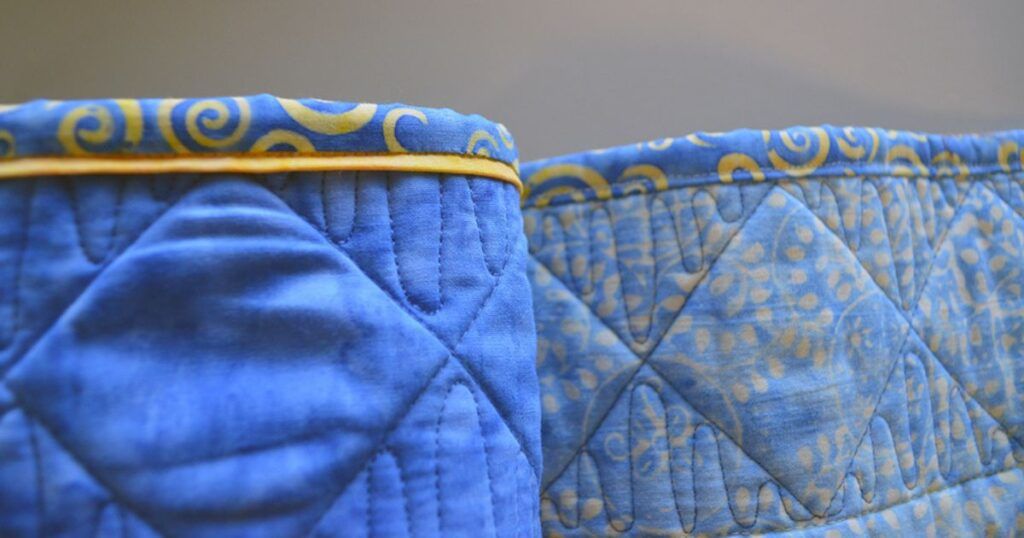
You can also use decorative stitches to secure your binding by machine! The photo above shows a serpentine stitch right on the binding, though you could get interesting effect by stitching in the ditch with other, more complex stitches, too. Experiment on smaller projects and get to know some of the other stitches on your sewing machine to give your quilts a fabulous finishing touch.
Happy quilting!
Gigi


Join the Conversation!