Windowing Fusible Appliqué: A Technique for Softer Fusible Appliqué
When fusing larger appliqué patches, the added bulk of fusible material may add undesirable stiffness to the quilt in the fused area, which could affect the overall feel of the finished quilt. But luckily, we have a solution just for you! All you have to do is try this tip for windowing fusible appliqué technique. We guarantee you’ll be oh-sew happy!
Let’s Get Started
1
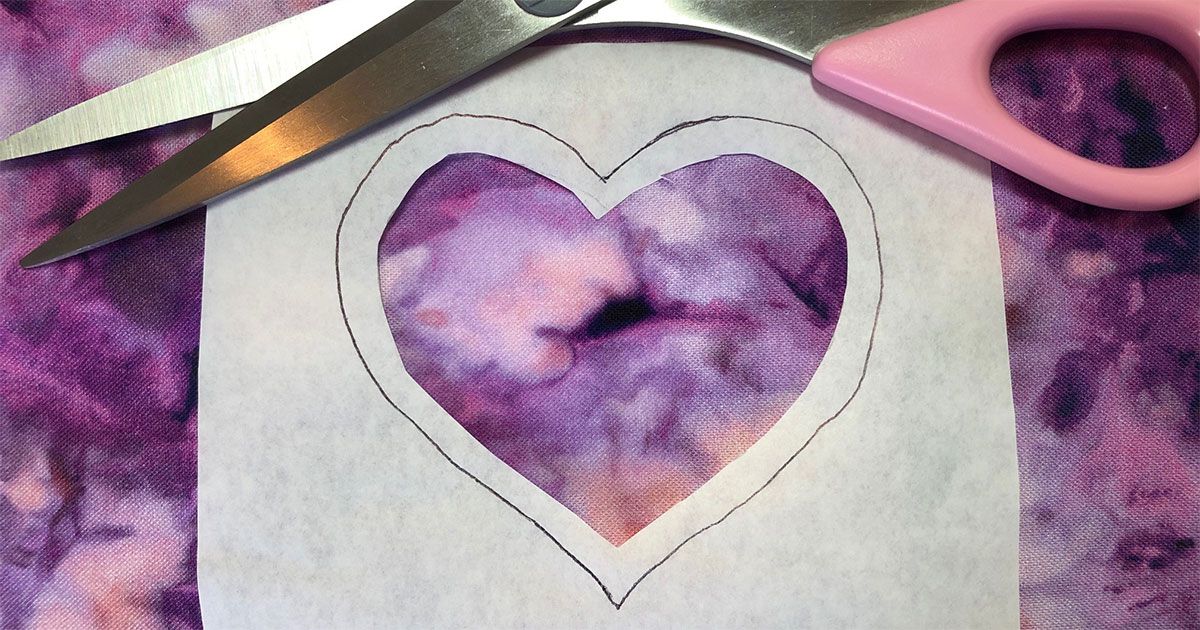
After tracing an appliqué motif onto the paper side of fusible web, lightly draw another line approximately ¼” inside of the line you just drew.
2
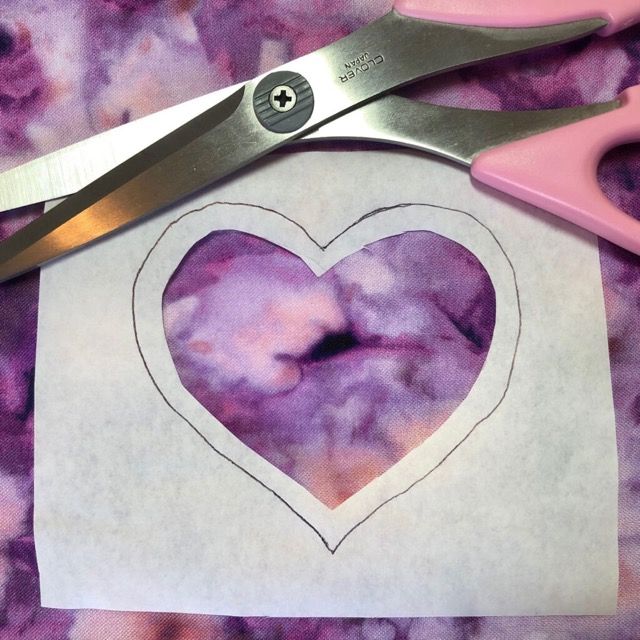
Carefully cut away on the inner line of fusible web to remove its center. (Depending on the size of your appliqué shape, save the cutaway inner portion of fusible web for a smaller template shape or future project.)
3
Next, with the newly “windowed” fusible web tracing, roughly cut the shape about 1/8” outside of the original traced line. Follow the fusible web manufacturer’s instructions to fuse the web to the wrong side of your appliqué fabric. From there, continue as instructed in your quilt pattern.
4
After fusing appliqué patches to the background, patterns typically include instructions for machine or hand sewing the fused edges of the appliqué shape to the background fabric.
5
Next, we recommend making a few extra appliqué patches to fuse to scraps of your background fabric. Use the patches to try different threads and or stitches, and to get your machine set up just right. A sharp, fresh, small diameter needle (try a size 75-11 quilting needle) will be a delight and give you little trouble! The stitches can be decorative if desired, but they are also functional, giving added insurance that the appliqué patches won’t ravel or come “unfused” with wear.

6
Sewing with top and bobbin thread that matches the appliqué patch (as opposed to the background fabric) is a traditional option. Sew such that every-other stitch alternates between dropping into the background fabric only at the very edge of the appliqué patch, and the other stitch dropping just inside the edge of the appliqué patch. You can choose monofilament thread for “invisible” stitches — if you choose this option, use a bobbin thread that matches the appliqué patch. Experiment on your scrap appliqué with different thread colors and fun decorative stitches that are unique to your machine!
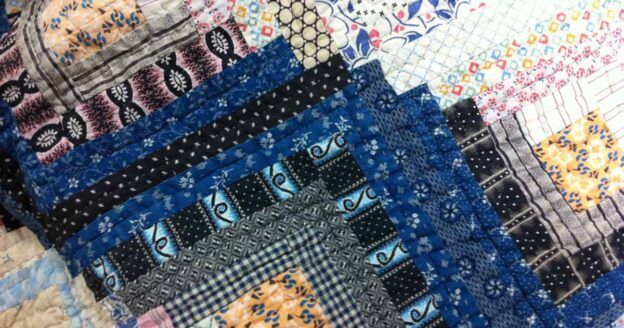
Optional: We’ve seen vintage quilts where the background fabric behind the appliqué shapes is cut away after the appliqué patches are sewn, making the entire quilt top a consistent thickness. Another benefit of this technique is that the background fabric cannot show through the appliqué patch. Some argue that this may weaken the quilt at the appliqué patch. Others think that’s nonsense, as the appliqué patch is sewn with stitches just the same as any piecework is! If you choose to give this a try, curved embroidery scissors will be your friend, helping to prevent accidental snips into the back of your appliqué.
Check Out Our Video Tutorial
Looking for an even more in-depth explanation of windowing fusible appliqué? Well, you’re in luck, because our team created an incredibly helpful tutorial on the technique.
Try This Technique For Yourself!
So, the next time an appliqué quilt pattern intrigues you, don’t be intimidated by the thoughts of bulky fabric. All you have to do is give this “windowing” fusible appliqué technique a try! Have you ever tried this technique before? Or do you plan to? Share your experience and the results with us on Instagram, Facebook, or in the comments section below.
Enjoying this article? Sign up for our newsletter!
*This article contains affiliate links that help us earn a small commission at no additional cost to you. As an Amazon Associate, we earn from qualifying purchases. We’re grateful for your support!


Join the Conversation!