Quilting Tips and Tricks for Templates
The reader-submitted quilting tips and tricks are the best!
We always get clever advice and nifty quilting hacks. Here are just a few tips we’ve heard about acrylic templates and rulers.

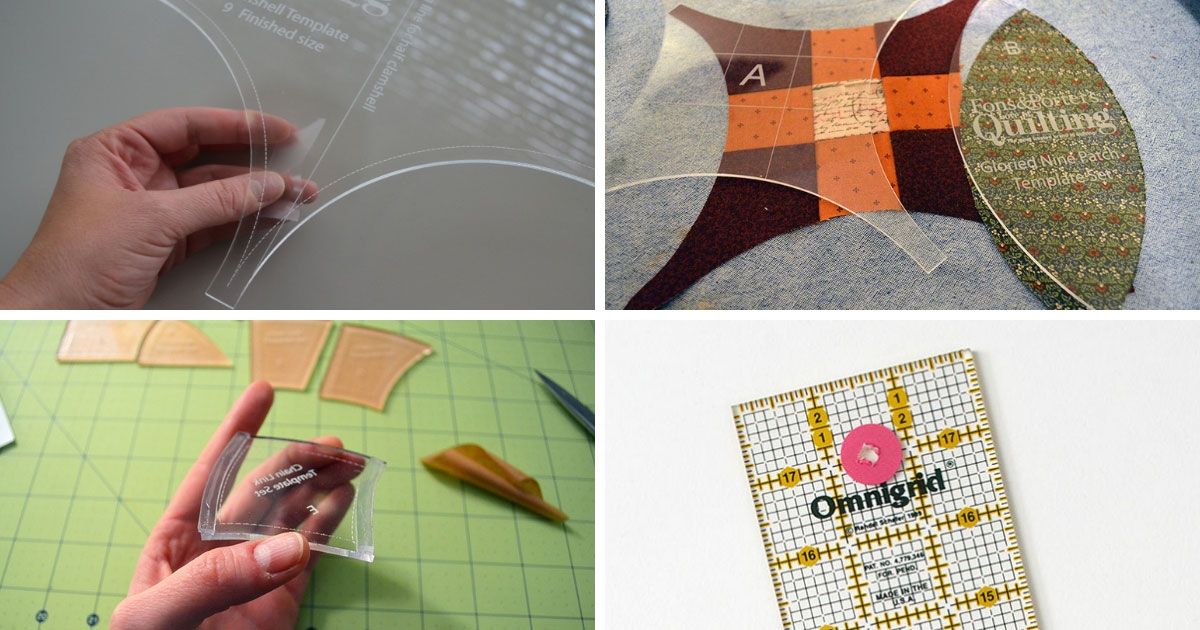
Acrylic templates can be slick, which is not a bad thing!
They’re mean to slide easily across the fabric, and not catch or tug on the fibers. There are plenty of quilters who prefer to keep their rulers and templates slick. Working with a spinning mat (you can also stack two cutting mats, turn the top one) and using a small, 18mm rotary cutter helps you achieve an accurate cut, as well as moving slowly and pressing down (gently, but firmly) on the acrylic template directly from above.
For a little extra reassurance that the template won’t slip at the critical moment, some quilters prefer to “hack” their templates. Sticky-backed sandpaper dots applied to the back, clear skateboard grip paper applied to rulers, rubber cement painted along the edges—we’ve heard a lot of suggestions over the years.
One of the simplest, and least damaging to your templates is to apply double-sided transparent tape the back. You can still see the fabric, and the tape sticks just enough without harming the fabric (which might happen with harsher things like sandpaper dots).
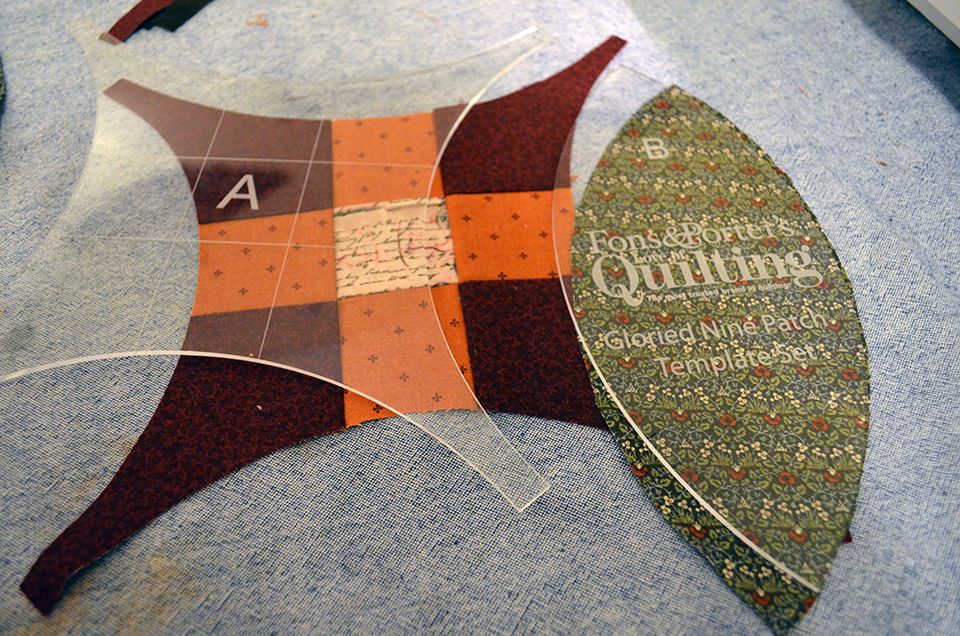
Curvy templates with thinner edges deserve a little extra caution.
If you’re a Nervous Nellie, like me, and want the added safety and accuracy provided by a template that’s staying put, there are some commercially available products, like Guidelines for Quilting’s Grip Strips. I’ve talked about them before, and I stand by them. They’re a lot easier to apply along a curved edge than tape and are even less likely to slip—a fact I was grateful for when making a Glorified Nine-Patch quilt. Two ruined cuts in a row and I decided to apply to strips. After that, there were no ruined cuts.

I actually like that these grippy strips raise the template slightly, too. It’s come in useful for me when I was cutting out embellished shapes on a recent project (seed beads—I love ‘em and hate ‘em).
One more quilting tip about template or ruler hacks before I sign off!
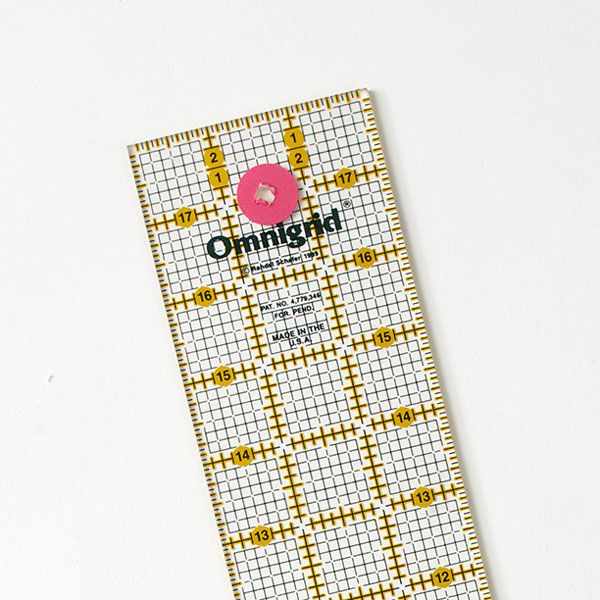
On a recent episode of “Fons & Porter’s Love of Quilting,” we included this tip submitted by John Marquis of Peoria, Illinois. He wrote, “Ever have trouble finding that little hole in a clear template to hang it up? I use brightly colored circle stickers, sticking it over the hole and cutting out the center. Easy to spot when you’re busily moving on!” Thanks, John!
Those are the best tips—so clever, so simple, so handy!
Please drop by the submission form to submit your own quilting tips and tricks! We like to share them with your fellow quilters, and they like to see them!
Happy quilting!
Vanessa


Join the Conversation!