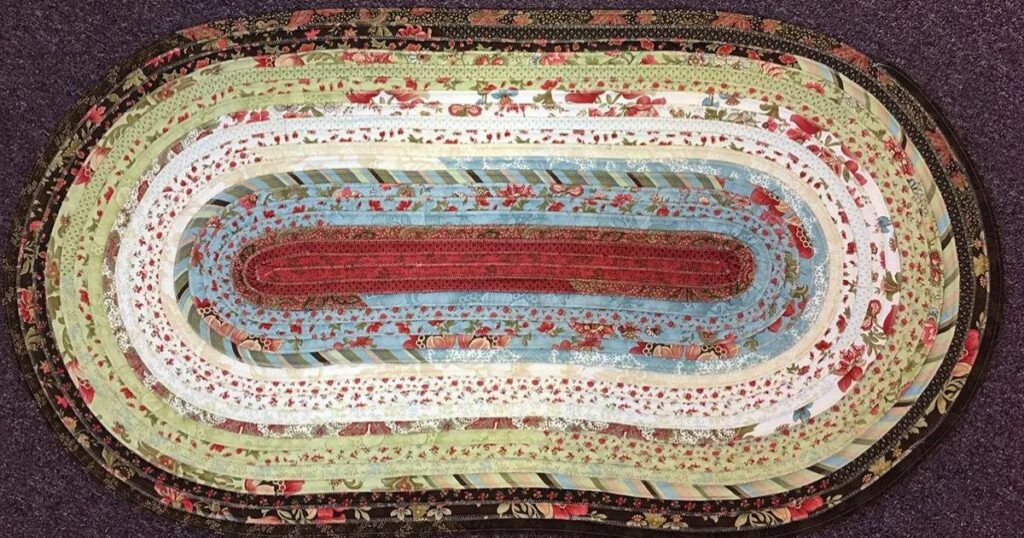
How to Make a Jelly Roll Rug in 9 Simple Steps

Everywhere I look, I’m seeing jelly roll rug. On Pinterest, on Facebook, at the International Quilt Festival, at smaller quilt shows; they are everywhere. I personally like throw rugs, I have them at the front and back entrances to our home, in the laundry area, the kitchen, the bathrooms, the hall, and beside the beds (even though some of the floors are carpeted). So I thought, why not learn how to make a jelly roll rug for myself?
Why you ask … they are easy to wash and they can add a wonderful bright pop of color. So I’ve been making rugs for years because I really do like them. Here’s a blog from several years ago about a rug I made with the seams of worn-out jeans. It’s still one of my favorite rugs. When I started seeing jelly roll rug, I put one on my list of projects to make and this past week was time to take action.
Jelly Roll Rugs Are Easy!
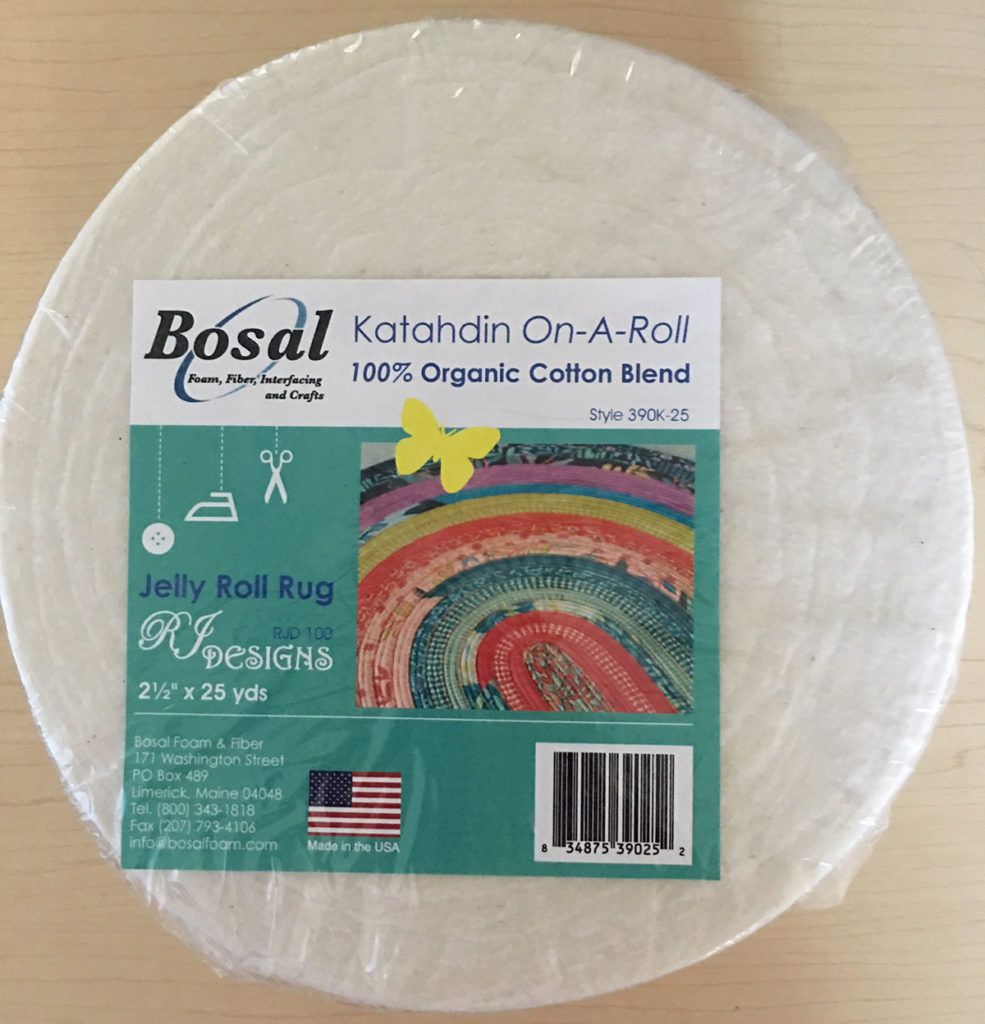
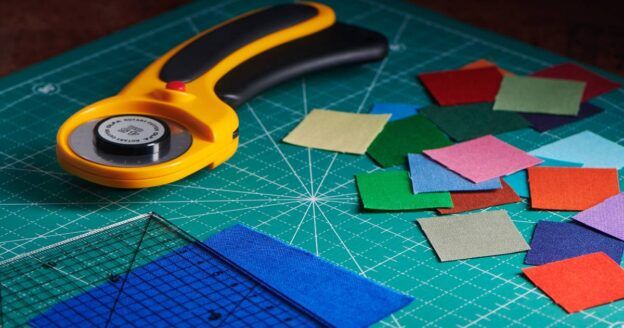
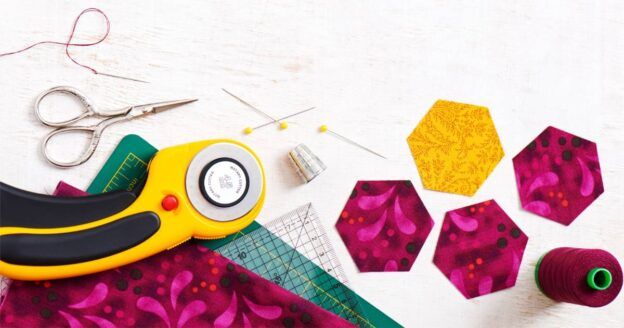
First, I spent some time on YouTube and checked out several blogs and then just made it up as I went. After some research, I decided to use a jelly rolls of fabric, scraps of batting, cut 2½” wide (or you could use Katahdin Batting from Bosal – it’s already cut to 2½” wide ), 90/14 denim needle, and cotton thread.
I used an almost complete jelly roll of Shangri-la fabric from Moda. At some point, I’d taken two strips out of the Jelly Roll and then rolled it back up. But as we all know, you can never get back that neat and tidy look that a jelly roll has when it comes from the factory once it has been unrolled. So I took care of the problem by making it into a rug.
How to Make a Jelly Roll Rug Step-by-Step
1
Decide on the order in which you wanted the strips to be sewn.
2
Join the strips together end to end, then starch and press that big long strip in half lengthwise with the wrong sides together.
3
Butt the ends of the batting scraps together and zigzag them.
4
Place the batting on the wrong side of the Jelly Roll fabric and fold both edges to the middle. Then fold that in half so all the raw edges are in the middle of the strip.
5
Use tiny clothespins or Clover’s Wonder Clips to hold everything together.

6
Stitch with a straight stitch to keep the strip from unfolding.
7
With your stitch set at 5.5 mm wide and 1.4 mm long, zigzag the strip in one continuous oval. Realize that it is important for your rug to lay flat, so you’ll need to ease in extra as you are going around the ends.
8
The outside of the strip needs to lay flat, so the inside may have extra that you’ll need to “smush” to make it fit.
9
Add little tiny gathers on the inside of the strip.
Tip: Every couple of rows, I stopped and pressed to make sure that the rug continued to lay flat: no curling because there wasn’t enough fabric and no “mountains and valleys” because there was too much fabric.
Another quick tip: if you’re going to put your Jelly Roll rug on a tile or hardwood floor, you’ll want to apply some sort of tape or backing to make it non-slip like this washable gripper by Home Techpro.
Now, Get to Stitchin’
Now that you know how to make a jelly roll rug, it’s time to get out there and actually do it! And remember that we always love to see what you create — share with us on Instagram, Facebook, or the comments below. Until next time, happy quilting!
Enjoying this article? Sign up for our newsletter!
*This article contains affiliate links that helps us earn a small commission (at no additional cost to you). We’re grateful for your support!


Join the Conversation!