Free Motion Quilting: Longarm “Prep” Rally!
Free motion quilting on a longarm is so much fun! It’s easy to get absorbed in the rhythmic sound of the machine sewing perfect, even stitches. The ease of stitching gorgeous curved motifs and feathers remind us of the joy of quilting on a longarm. Using our focus and concentration to fill a background with micro quilting proves that we can create jaw-dropping results. We’re riding high on quilty delight until… argh! The thread shreds, the stitches skip, the needle breaks…and when did that bird show up who made a thread nest on the bottom of the quilt?
When problems occur with free motion quilting, it’s best to first consult the machine owner’s manual, or for big issues, call or email the company’s technical support staff. But there are a few basic measures to take before beginning to quilt—what I call a Longarm “Prep” Rally—to avoid some common problems.
Needles
First, make sure to use the correct needles for your specific longarm. This information should come from the machine manufacturer. The group of numbers to match are circled in red on the image (the correct needles for your particular machine might have different numbers). Using needles which aren’t configured for your machine can result in problems like broken needles, thread breakage, and sub-optimal performance.

The needle size (circled in blue on the image) is determined by the thread you choose. For example, thicker threads (those with a LOWER number) require needles that have a front groove and eye that are large enough to accommodate the thread.
Unlike domestic machine needles, longarm needles have a round shaft so it’s easy to insert the needle backward. Make sure the scarf of the needle (the notched part) faces the back, and the long groove faces the front at the 6:00 position. Also make sure to insert the needle into the needle bar as high as it will go before tightening the clamp screw.
Needles work best when they’re straight and sharp so change your needle often!
Thread
As mentioned in the needles discussion, thread weight determines the size of needle to use. A general guide to match needles size and thread weight is as follows:
- Needle size 125/20 for threads that are 30 weight or thicker.
- Needle size 110/18 for threads that are 30-40 weight.
- Needle size 100/16 for threads that are 50-60 weight.
- Needle size 90/14 for threads that are 80 weight or thinner.
Thread manufacturers often have great recommendations about what needles to use with their products, so be sure to check out their websites.
When it comes to thread, quality matters! Using cheap or old thread is likely to end up in a lot of frustrating thread breaks, shredding, and lint build-up.
Both cotton and polyester threads work well for longarm quilting. It’s important to choose a thread type and color that compliments the quilt.
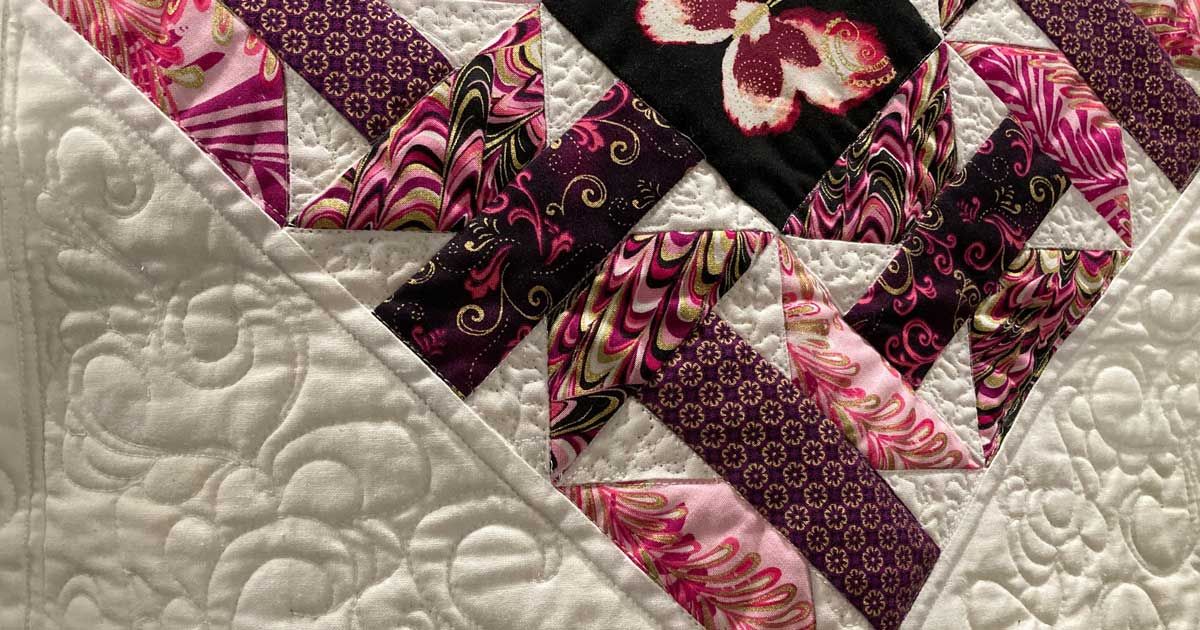
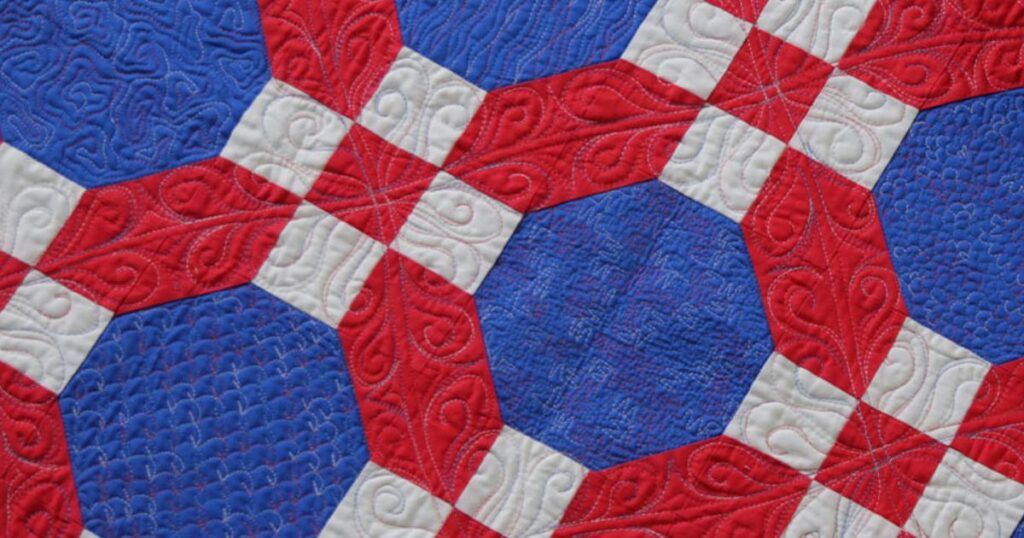
Use a thread color that matches with the fabrics in your quilt if you want the quilting to blend. Or choose a thread color that contrasts with the fabrics in your quilt if you want the quilting to take center stage! Also be aware how thread color may affect the continuity of the quilting as the eyes follow the stitches across different colored fabrics. For example, an in-between thread color such as gray or purple works well for a black and white quilt since it will show up with a similar contrast on both fabrics.

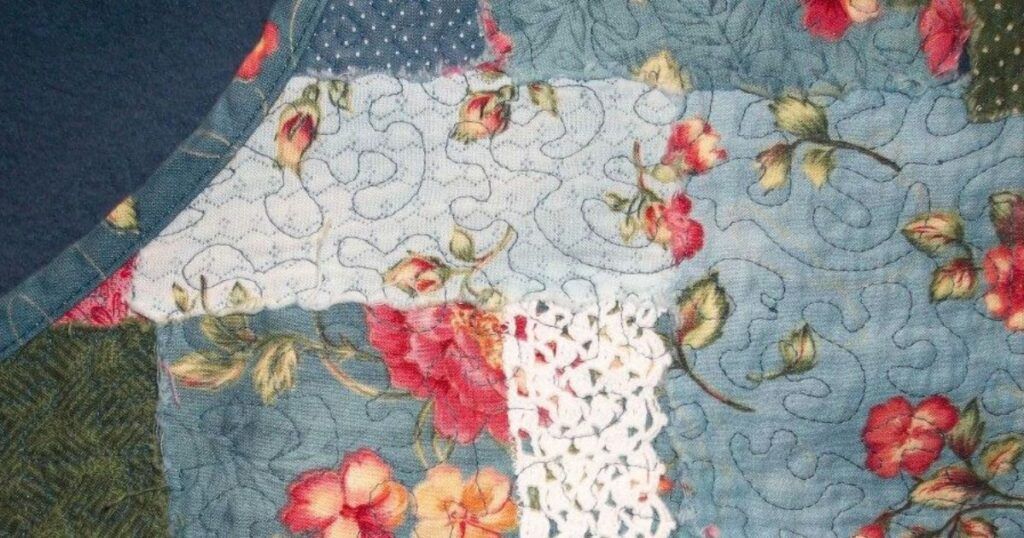
Quilters can find an assortment of beautiful variegated threads in shops and online. However, save the variegated threads for quilting on fabrics where they can be seen, such as solids and tonals. The lovely characteristics of variegated threads become lost on busy prints.
Specialty threads can be tricky, so they require a little more experimentation on the part of the quilter. Monofilament, metallic, or decorative threads may need a lot of trial and error with needle size and machine tension.
Threads are either wound on cones or spools. Longarm machines have thread masts suited for cones, which unwind from the top. For spools, you may need to use a horizontal spool pin and/or a thread net to have the thread unwind correctly. Be sure to check your machine user’s manual for threading instructions for cones and spools.
Tension
Getting good tension is a balancing act—and can sometimes really test our patience! Whether we call the offending stitches eyelashes, loops, or nests it always means one thing: get out your seam ripper!
For longarmers it’s best to set the bobbin tension first. Some quilters swear by using a Towa bobbin tension gauge, while others use a more intuitive approach of “feeling” how the thread pulls from the bobbin.

Machine manufacturers and thread companies offer some great videos how to achieve good bobbin tension. Adjusting the bobbin tension is done by loosening or tightening the larger screw. (Remember the old “lefty loosey – righty tighty” saying?) For bobbins, turn the screw in teeny, tiny increments – small enough to be compared to minutes on a clock.
After your bobbin tension is set, it’s time to set the top thread tension. First, double check that the machine is threaded correctly, and the top thread is completely flossed between the tension plates. Reserve some space off to the side of your quilt to test some stitches. After stitching a few meanders, look closely at the top and bottom stitches. If there are eyelashes on the bottom, tighten the top tension. Likewise, if there are eyelashes on the top, then back off the top tension a bit. Unlike the bobbin adjustments, the top tension knob can be turned in larger increments, such as quarter turns. Big loops and nests on the bottom of the quilt are indications that the top thread isn’t threaded correctly, or the top thread isn’t properly flossed between the tension disks.
Oil
Of course, don’t forget to oil the machine parts as directed in your user’s manual according to the frequency that is specified. Only use the oil recommended by your machine manufacturer.
Hopefully, having a little “prep” rally before starting to stitch your free motion masterpiece helps add more minutes of quilting fun and fewer minutes of using that seam ripper! Oh, and don’t forget the pom poms!
Here at Quilting Daily we’re excited to roll out our Start Up Guide to Free Motion quilting which is focused on beginners and experienced quilters alike. And here are some more reasons to fall in love with free motion quilting!
Find Inspiration for Free-Motion Quilting Designs here and for more tips, check out these 8 tips for tackling longarm quilting machines.
For those who are ready for a deep dive, Quilting Daily is offering their next summer edition of the APQS Longarm Certification Course with Dawn Cavanaugh and Myrna Ficken!


Join the Conversation!