Beginner Bootcamp Seam Allowance: You are SEW ACCURATE!
Have you ever made all your quilt blocks for a quilt only to realize they aren’t all the same size? If you have, you are not alone. Sewing an accurate seam allowance takes more than just throwing a specialty foot on your machine. It takes practice to become consistent when even slight differences can significantly affect your results in a project with many seams.
Beyond that consistent seam, there are other factors that make a difference in your finished block. When patches are opened and pressed, a bit of fabric is “lost” in the seam, which can leave you with sewn units that are slightly too small unless you take this into account when stitching.
The block you are making also makes a difference. Let’s consider two different blocks. Block one is a simple Nine-Patch with two seams per row in each direction. If you are a needle-width off, the finished block size is barely noticeable.

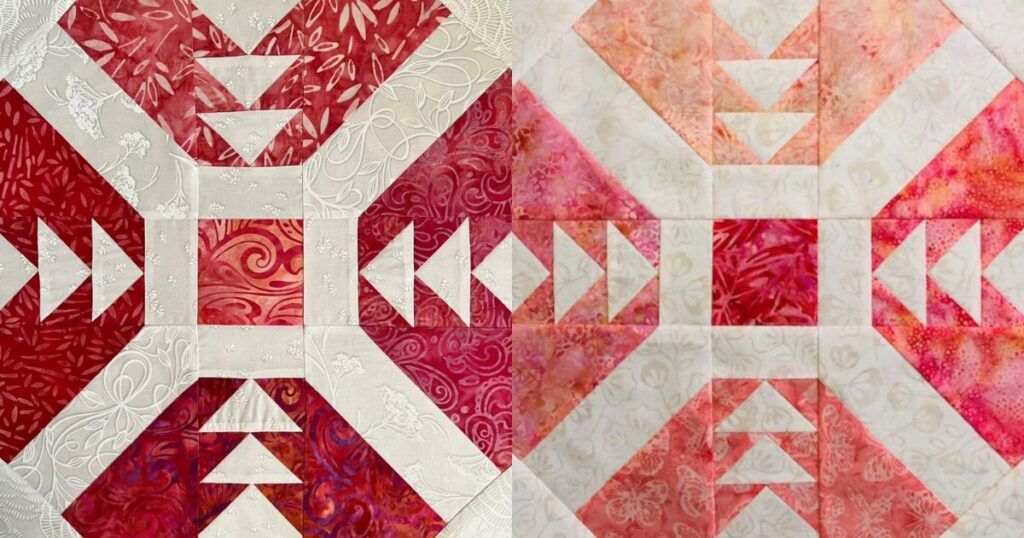
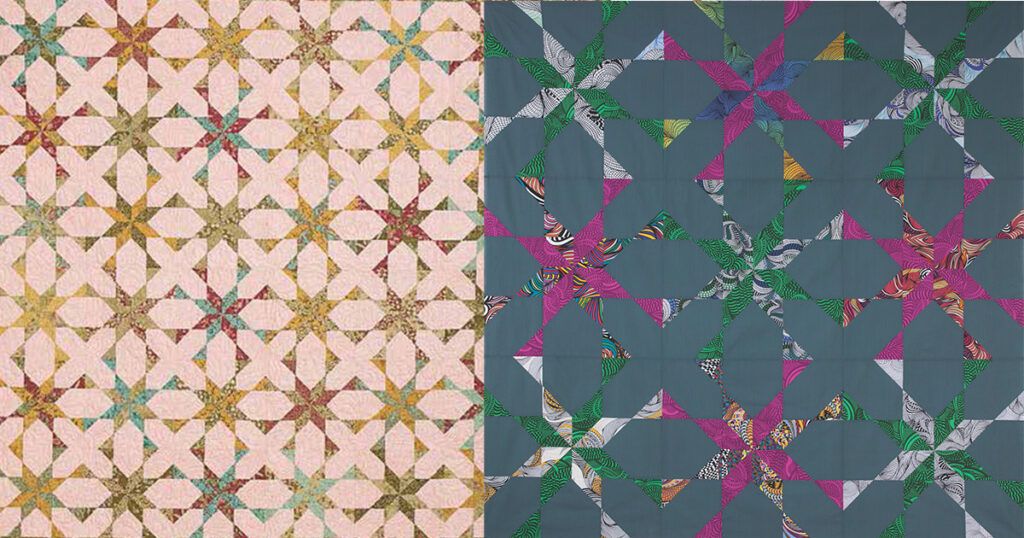
Block two is a Feathered Star. There are 20 seams per star point. If your ¼” seam is even a needle-width off, your finished block may end up between 1¼”–1½” off when you are done. Across an entire quilt top, that difference can mean your finished quilt may be several inches off. See how that tiny fraction can make a huge difference in the size of your quilt top?
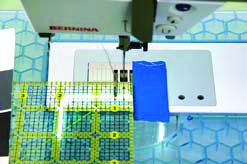
So what do you do? Practice your seam so it is accurate—or at least consistent! Here is a method to perfect your ¼” seam. Try it out and see where you line up!
To establish or check your ¼” seam allowance:


For more tips and ideas, check out our Beginner Resources page at QuiltingDaily.com.
*Originally published September 2021.

Join the Conversation!