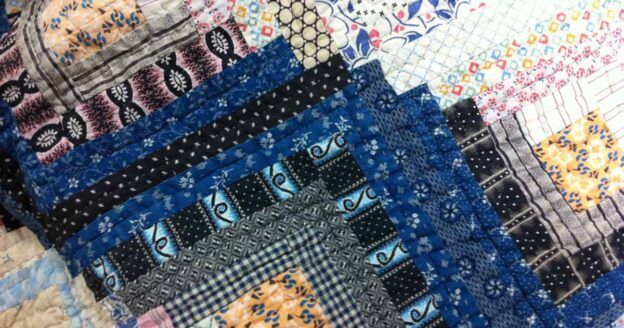
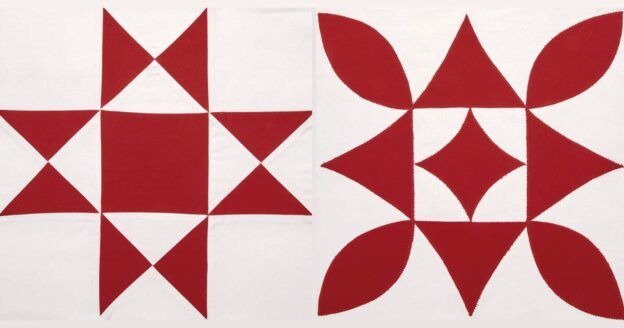
Appliqué Anyone? Dive Into the Technique with Erin Russek

I have been in love with appliqué since I started quilting. My second quilt had appliqué on it. I’m always on the lookout for ways to add some appliqué to my quilts. My pattern, Miss Kyra, has appliqué on the seams! I know many quilters are put off by anything to do with handwork. I was too at first. What really got me going with appliqué was learning the starch and press technique.

In this method you prepare all your appliqué shapes before you stitch them to your quilt blocks. That way you aren’t struggling to turn your seam allowances under while you stitch. With a few simple preparations, making appliqué blocks can be both relaxing and fun!

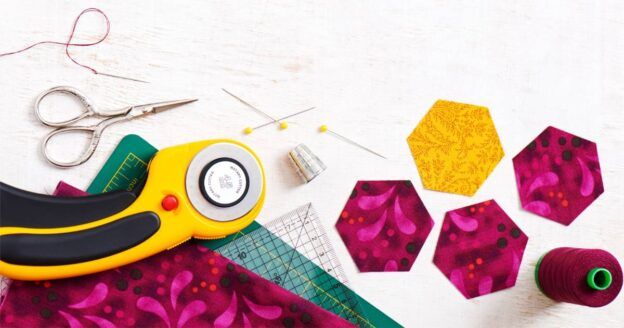
Prepare For Some Appliqué Fun
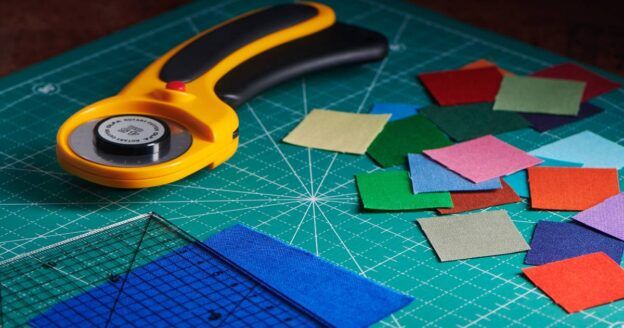
Let’s get started. First, you need heat resistant template plastic. I like Templar from Heirloom Stitches. You will also need some type of starch. Sta-Flo liquid starch is my favorite. This starch is concentrated and you can dilute it with water to the level of stiffness you prefer. In addition to the starch solution you will need a good stencil brush and an iron.

Getting Started
To start the appliqué, make a template of the shape using plastic. Trace the pattern onto the plastic using a fine point permanent marker. After the shape is traced, cut the template out. Make sure your template is free of the snags and bumps that can be left over from cutting. You can do this by running your finger over the edges and smoothing any bumps with a fingernail file.

Once all your templates are made, it is time to use them to make the fabric shapes. Use a washable fabric marker to trace on the wrong side of the fabric. Cut the fabric ¼” outside this traced line. Placing the template on the wrong side of the appliqué shape, use a stencil brush to apply starch to the seam allowance. Use the stencil brush to help you turn the seam allowance toward the template. Use a dry iron on medium heat to press the seam allowance to the back of the template.

Next Steps
Continue turning the edges toward the plastic until the seam allowance is completely turned under. For shapes that have points, fold the point to the back of the template, starch and press as shown. When your shape is pressed, remove the template and use it to make more shapes if needed.

Before stitching, it’s helpful to baste your appliqué shapes in place using water-soluble glue. This eliminates the problem of thread getting tangled up on pins as you stitch onto the background fabric. Find the center of your background fabric and pin the paper pattern to the wrong side of your fabric making sure the centers are aligned.

If the background fabric is light you should be able to see the pattern through the fabric. If not, use a light box. Baste the appliqué pieces by putting a small amount of glue onto the background fabric where you want your appliqués and placing the shapes on the glue. You can baste the entire block before you stitch.
To stitch the appliqué in place, make a small blind stitch along the folded edge of the appliqué shape. Start by bringing the knotted thread up from the back of the block and through the edge of the appliqué. The key to a good blind stitch is to keep your stitches close together so that the edge of the appliqué remains smooth. A good stitch spacing to aim for is 10 to 12 stitches per inch.
Now, Go Ace Appliqué
To finish, bring your needle to the back of the block, take a small stitch into the background fabric behind the appliqué and use this stitch to make a knot as shown. I have used these simple techniques to create many appliqué quilts over the years. With just a little investment of time at the beginning, you can achieve appliqué success. Go ahead, try it! I’m sure you’ll love it! Be sure to share your appliqué creations with us on Instagram, Facebook, or the comments below.
Enjoying this article? Sign up for our newsletter!
*This article contains affiliate links that helps us earn a small commission (at no additional cost to you). We’re grateful for your support!


I thoroughly enjoyed reading this article. I fell in love with applique right after I started quilting and tried a variety of methods. The starch method, just as you have given the tutorial for, is the method I use all of the time now. For some odd reason, it has been awhile since I have done any applique. So reading your article was a great way to relearn the method before starting the project I am getting ready for! Thank you for all that you share and design! Have a superb day!