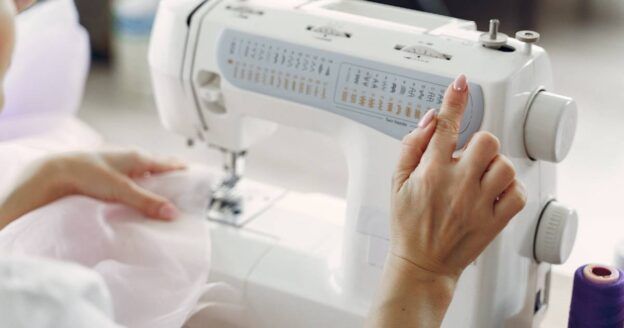
How to Make an Adjustable-Size Pleated Face Mask

If you’ve been wanting to learn how to make a face mask but have been concerned about proper sizing, then we’e got just what you’re looking for! The pattern we’re working with features elastic that can be adjusted for any wearer. So not only will these face masks make a great gift to yourself, they’ll also make great gifts for friends and loved ones! If you have any questions about fabric, sizing, or are looking for other tutorials, be sure to check out the handmade mask roundup on our sister site Sew Daily!
Adjustable-Size Pleated Face Mask
Pattern by Lavon Peters
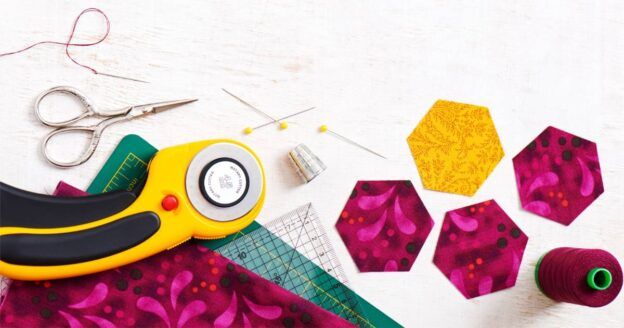
Tools
✓
Iron and Ironing Mat
✓
Flat Quilting Ruler (optional)
Materials
✓
2 pieces of 100% cotton fabric 9″ x 7″
✓
2 pieces of 100% cotton fabric 4½” x 1½” (same or coordinating fabric)
✓
2 pieces of elastic approx. 10″ long (⅛” wide elastic; can use ¼” wide if necessary)
✓
Thread in neutral or coordinating color
Instructions
1
Press all fabric before cutting.


2
Cut all fabric pieces. (If using a directional print, orient the 9″ width horizontally on the pattern.) Cut the elastic strips.
3
Pin the 9″ x 7″ pieces of fabric with right sides together. (If using a directional print, flip one of the pieces around so the pattern will be right-side-up on both sides after the pleats are sewn.)


4
Stitch along both 9″ lengths, using a ¼” seam allowance.

5
Turn right side out and press flat.


6
Mark along each 7″ edge as shown below:
✓
A: 1¼”
✓
B: 1″
✓
C: ½”
✓
D: 1″
✓
E: ½”
✓
F: 1″
✓
G: 1¼”

6
Mark along each 7″ edge as shown below:
7
On one edge, bring first mark down to second mark and pin to create a pleat. Repeat with third/fourth marks and fifth/sixth marks. Repeat on opposite edge, making sure all pleats face downward. Press flat.

8
Stitch along each pinned edge, using an ⅛” seam allowance and removing pins as you sew. Press flat again.

9
Center one 4½” strip on each pleated edge, right sides together, and pin in place.

10
Fold excess fabric on each end over to the other side of the mask and press/pin in place.

11
Sew strips to the mask using a ¼” seam allowance.

12
Fold fabric strips out and press the folded excess edges flat.


13
To finish the bound edges, fold the fabric strips in toward the mask 2x and press/pin in place.


14
Sew along the edge of the binding, creating a tube to feed the elastic through. Back-stitch at each end of the tube.

15
Use a safety pin to feed the elastic strips through the tubes.

16
Size the mask by tying the ends of each elastic strip together to create a length that fits the mask snugly to your face when the elastic is looped over your ears. Note: If you are giving the mask to someone else, stop here and leave the elastic untied or loosely tied. Then instruct the recipient to size and then tie the knot firmly before rotating the knot the bottom of the sleeve and tucking it in.

17
Feed the knots in the elastic strips into the tubes to hide them.

18
Wear the mask with the OUTSIDE pleats facing DOWN and the INSIDE pleats facing UP.

So there you have it! Now you know how to make a face mask that will fit just about any face. We hope you’ll share your creations with us in the comments or on social media (or both)! Be sure to follow Quilting Daily on Instagram and Facebook.
Enjoying this article? Sign up for our newsletter!
*This article contains affiliate links that helps us earn a small commission from purchases — at no additional cost to you. We are grateful for your support.


What size rectangle would you recommended for a pre teen?
On our sister site we shared some information about sizing for masks, and though sizing varies, around 6″ x 8″ would fall right between child and adult sizes. Here’s the link to the article https://www.sewdaily.com/sewing/handmade-masks-roundup/.
Best,
Tiffany
Quilting Daily Team
I would like to print this pattern “adjustable-size pleated face mask but how do I do it? I see no options for printing or downdoading this free pattern. Helene Car
I also renewed my subscription to the Love of Quilting and subscribed to McCall’s quilting today. I tried to download the free gifts America loves scraps quilt from McCall’s offer and the free patter from Love of Quilting but I do not have access “the site takes too long to respond” answer.
Let me reach our to our subscription team and see what I can find out to help you with this download! I’ll be in touch soon.
Best,
Tiffany
Hello! Thanks for reaching out. This is an instruction/written pattern (there isn’t a template to print or anything). As you read the instructions let me know if you have any questions.
Best,
Tiffany
Quilting Daily Team