8 Steps to Successful Cyanotype Prints on Fabric
Did you know cyanotype has been around since the middle of the 19th century? This vivid blueprinting technique was a popular way to reproduce photographs and documents quickly and inexpensively. In fact, cyanotype prints were often used to print maps and plans, that’s where we get the term blueprint. Nowadays you can buy pretreated fabrics that are ready to use right out of the package if you want to try cyanotype printing at home.

All you have to do is follow the manufacturer’s instructions: place objects or a photo transparency over the fabric, expose it to sunlight for several minutes and then submerge in water to develop your print. If you want to experiment with cyanotype printing on a wider variety of fabrics and surfaces including wool, paper, or wood, you can treat your own substrate with specialty chemicals.
Subscribe to Quilting Arts Magazine so you don’t miss any great quilt patterns, inspiration, and articles like this one!
Making Cyanotype Prints by Sue Reno
Here’s a brief tutorial from Sue Reno with all the details you’ll need to create successful cyanotype prints using the Jacquard Cyanotype Set.
1
Mix the solution according to the package instructions. Paint it onto fabric and let the fabric dry in a dark place.
2
Working in dim lighting, pin the treated fabric to foam board or similar portable surface.
3
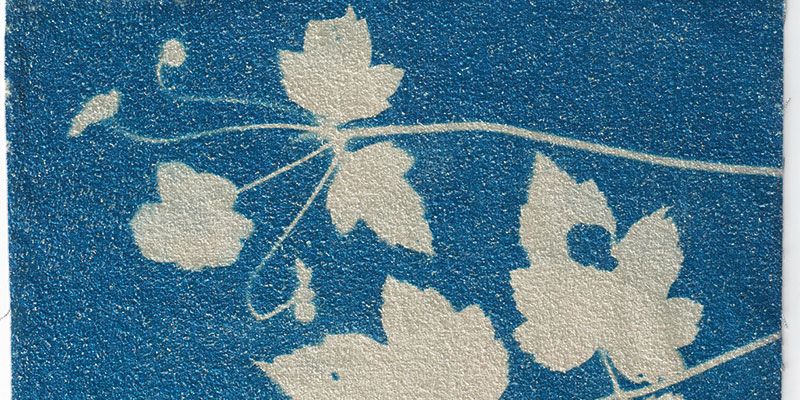
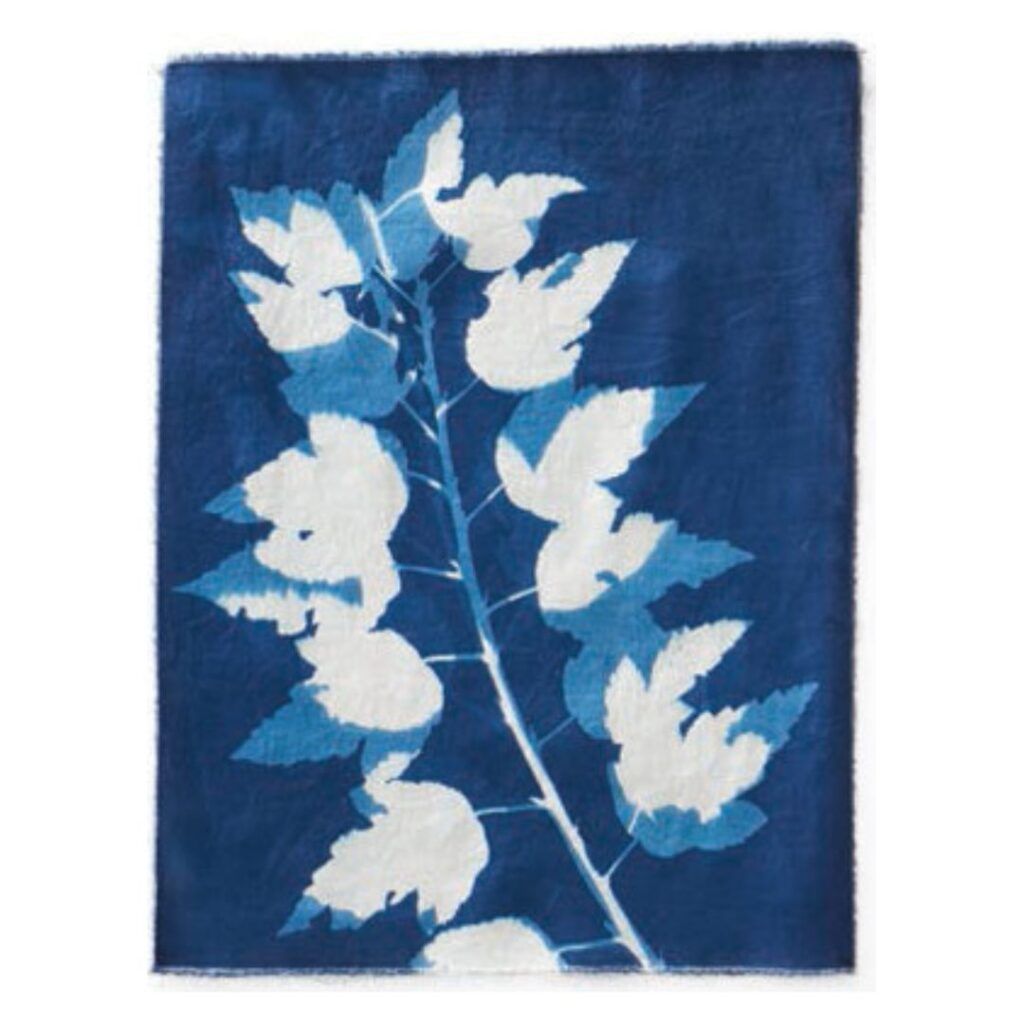
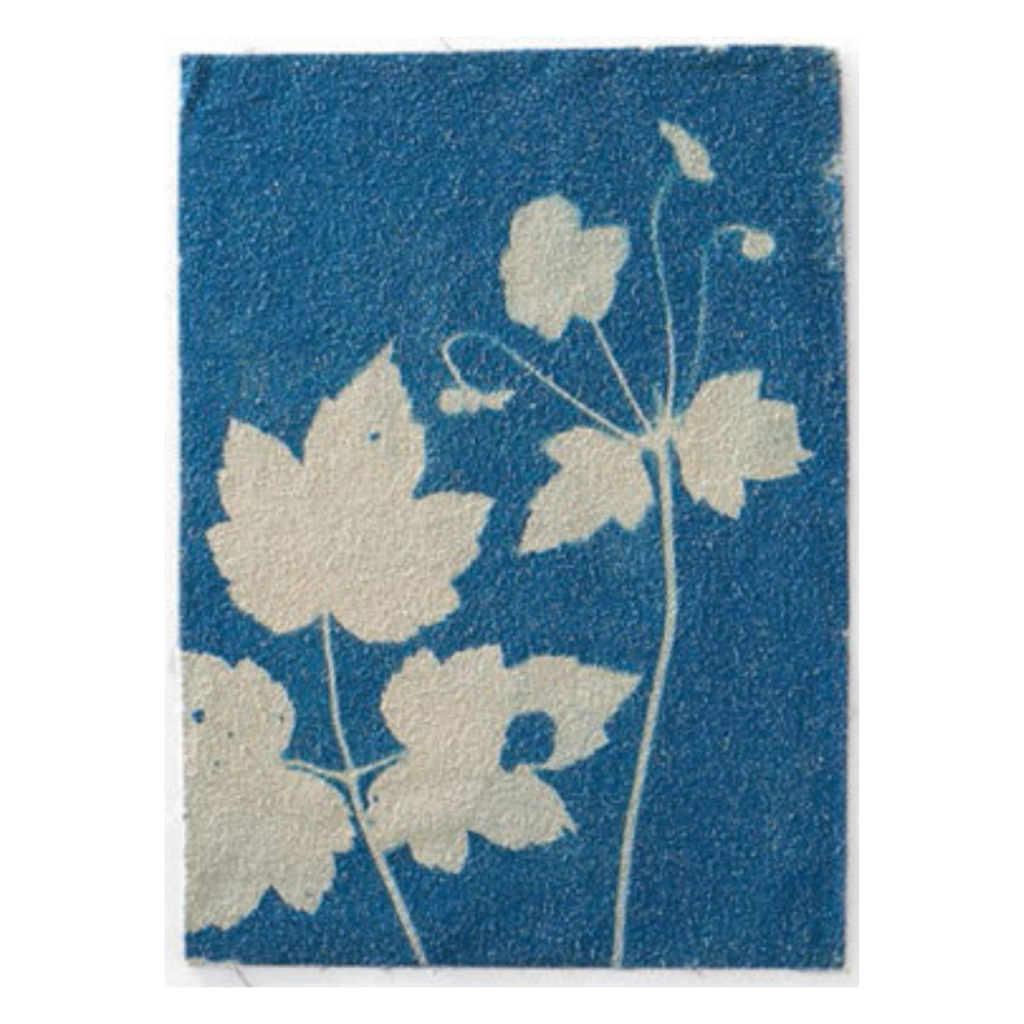
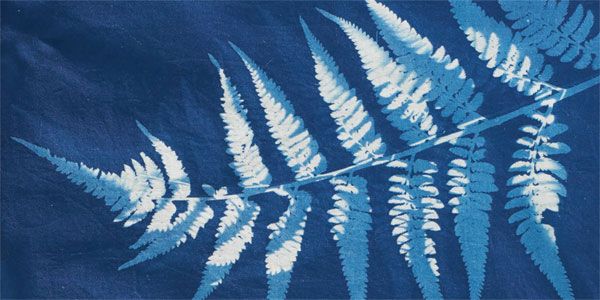
Mask the surface to form a design. Possibilities include leaves and flowers, foam shapes, stencils, stick-on letters, or printed transparency sheets.
4
Hold the masking materials in place with small pins, or cover with a sheet of glass or plexiglass.
5
Place the board in sunlight. Tilt the board if necessary to match the angle of the sun. A ten-minute exposure is standard–decrease the time slightly for bright mid-day summer sun, or increase it for less than optimal conditions. The fabric will turn grayish as it exposes.
6
Make small samples and keep notes before starting a large project. Images that are somewhat over- or underexposed are still very usable.
7
Bring the boards back inside and remove the masks and pins. Wearing rubber gloves, rinse the fabric in several changes of warm water, adding hydrogen peroxide in the last rinse (suggested as an optional step, but I recommend it). Watch the magic happen as the print develops!
8
Lay the fabric flat and allow it to dry completely.
Now Go Make Your Own Cyanotype Print
Do you find yourself inspired by this technique? Check out Sue Reno’s Quilting Arts Workshop video, Surface Design Essentials for the Printed Quilt, which gives detailed instructions for creating Cyanotype prints on fabric. Have you already created your own cyanotype prints? We want to see them — share with us on Instagram, Facebook, or the comments below!
Enjoying this article? Sign up for our newsletter!
*This article contains affiliate links that helps us earn a small commission (at no additional cost to you). We’re grateful for your support!


I did try Cyanotype printing this past summer. The first couple attempts did not turn out well but the next four did! I made a journal cover from one of the pieces of fabric which includes a photo I took and printed on fabric photo transfer. I used reverse applique and embellished it with the blanket stitch.
This is stunning, Kathy, thank you so much for sharing your work with us!!
HI there, So reading the above comment, is it the warm water and hydrogen peroxide that fixes the blue to the fabric? I had a go at this on cotton, it came out beautifully, I ironed it to fix the blue, and then washed it and the colour faded dramatically, any suggestions, kindly Anita
This is a nice, Thanks for sharing. For more similar content and services visit: https://austintrim.co/woven-labels/
I have had a go at Cyanotyping on an old t-shirt, but how do I keep it clean. I washed it in the normal wash cycle, but it turned brownish yellow. Is there any clothes cleaning product that doesn’t ruin cyanotype printed fabrics!
Hi Lisa,
I would suggest you contact the manufacturer of the cyanotype chemicals to check out the laundering suggestions. I went to the Jacquard website and found this information about their product. It looks like the water (acidity) and the temperature makes a difference.
https://www.jacquardproducts.com/assets/jacquard-site/support/instructions/Cyanotype%20Detailed%20Instructions.pdf
Best,
Vivika